Holly Coppedge
-
Green Spaghetti (Espagueti Verde) with Pan-Seared Shrimp
-
Easy Moo Shu Pork Recipe for Two
-
Cheesy Skillet Meatballs in Marinara Sauce
-
Chicken Parmesan with Creamy Marinara Orzo (Easy Dinner for Two)
-
Easy Homemade Marinara Sauce with Canned Tomatoes
-
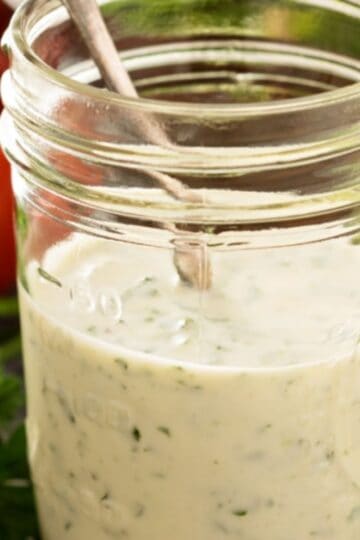
Homemade Blue Cheese Dressing (Creamy, Chunky, and Easy)
-
Indian Fry Bread Tacos (Navajo Tacos) – An Arizona Classic
-
Easy Restaurant-Style Black Bean Dip Recipe
-
Mashed Potatoes with Roasted Garlic and Caramelized Onions
-
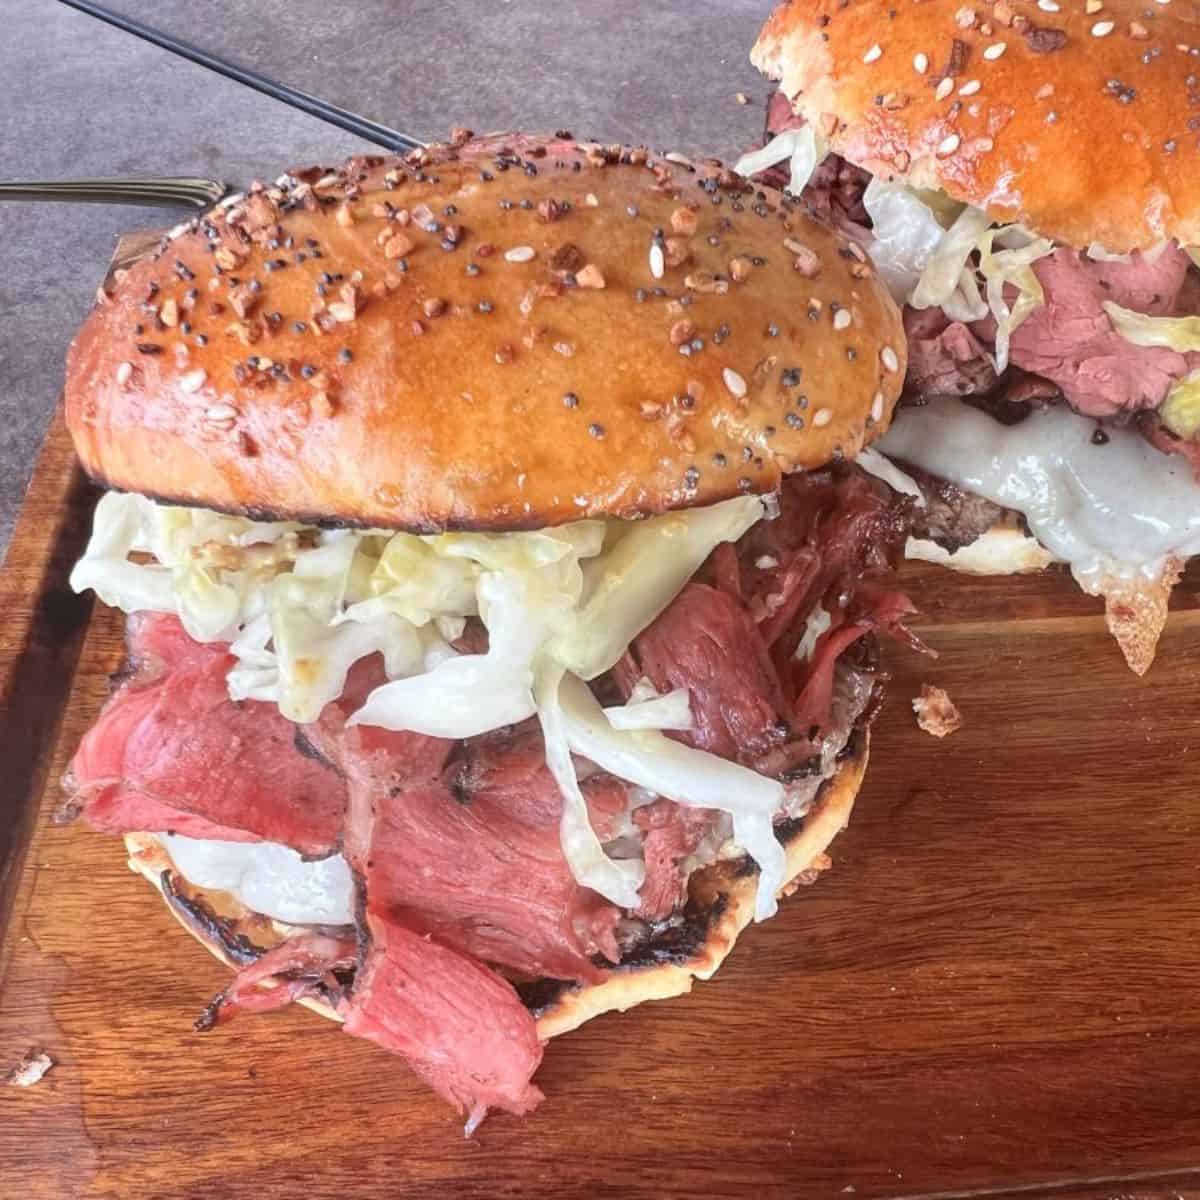
How I Made the Onion Rolls for My North Shore 3-Way Sandwiches
-
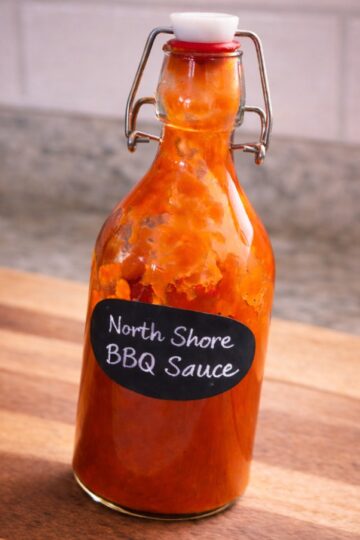
James River–Style Barbecue Sauce (Sweet, Tangy & Mild)
-
The North Shore 3-Way: A Massachusetts Sandwich Most People Have Never Heard Of
-
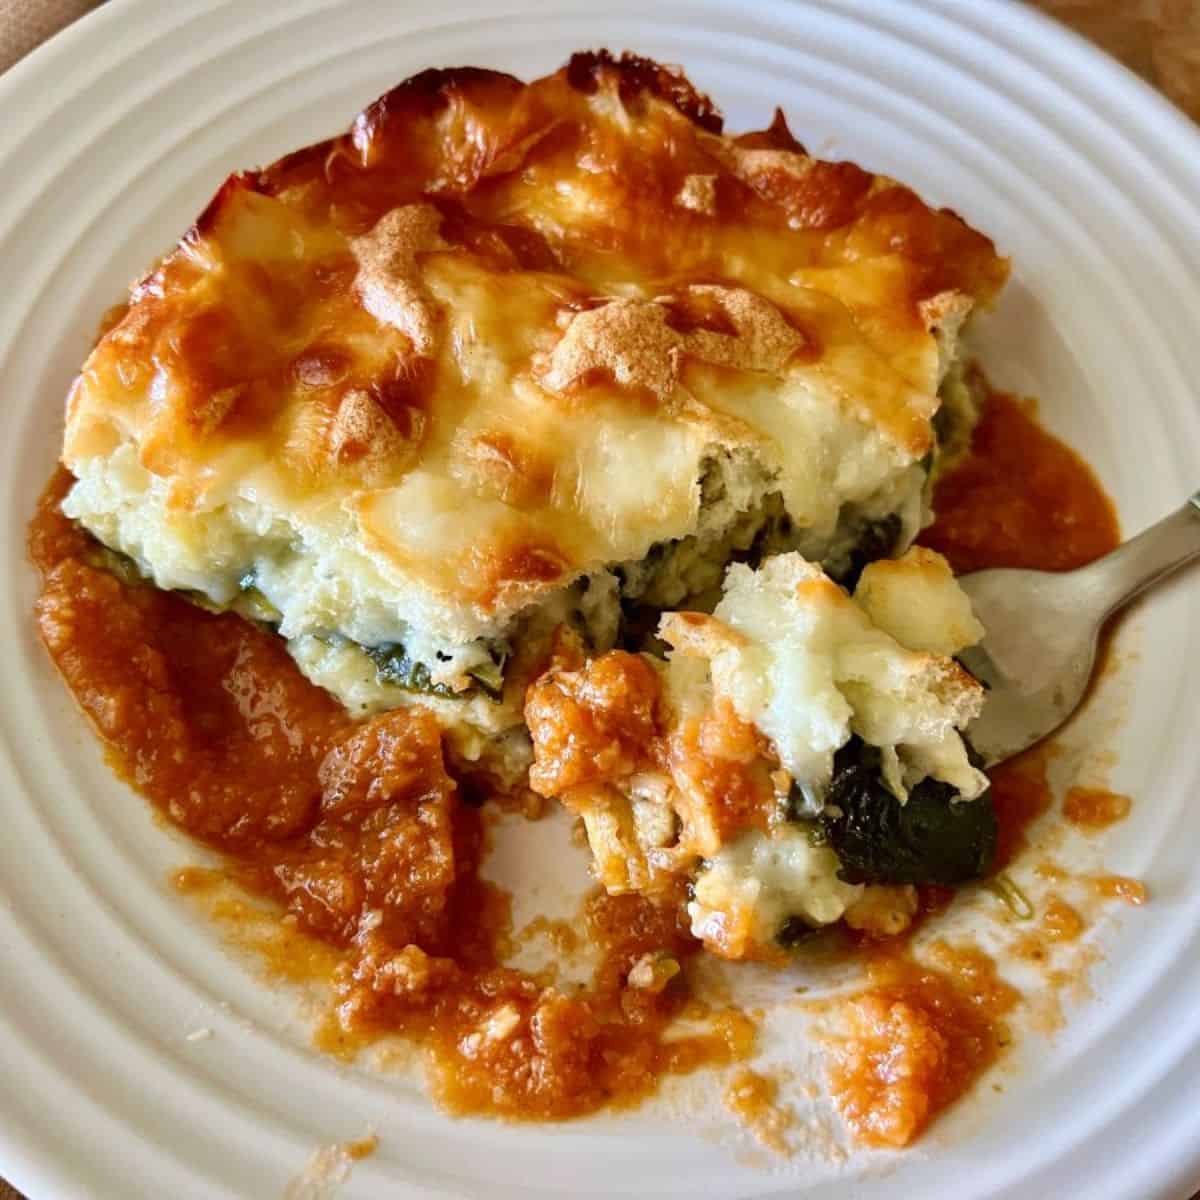
Soup Dumpling Lasagna with Wonton Wrappers (No folding required)
-
Spicy Asian Cucumber Salad with Chili Crisp
-
Mini Baguette for Two (Beginner-Friendly Small Batch Bread)
-
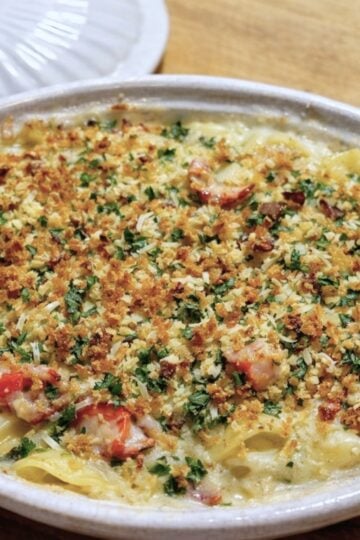
Boursin Lobster Mac and Cheese | Date Night Dinner for Two
-
Creamy Chicken and White Bean Soup with Spinach
-
Mini Meatloaf for Two with Mashed Potatoes and Green Beans
-
Easy Beef Ramen Noodles (Better Than Takeout)
-
Louisiana Bread Pudding with Bourbon Sauce
-
Easy Louisiana Gumbo with Shrimp and Chicken
-
Old-Fashioned Arkansas Possum Pie Recipe (Layered Chocolate Cream Pie)
-
Easy Arkansas Chocolate Gravy Recipe
-
One Pot Zuppa Toscana | Made in the Instant Pot
-
11 Easy Game Day Recipes – Football Food Ideas Everyone Will Love
-
Homemade Buffalo Sauce for Wings – Easy, Flavorful, Game-Day Favorite
-
Classic Meatloaf Recipe – Tender, Juicy, and Easy to Make
-
Instant Pot Chicken Paprikash (Hungarian Comfort Food Made Easy)
-
Blackstone Pastrami Burger – Utah’s Signature Burger at Home
-
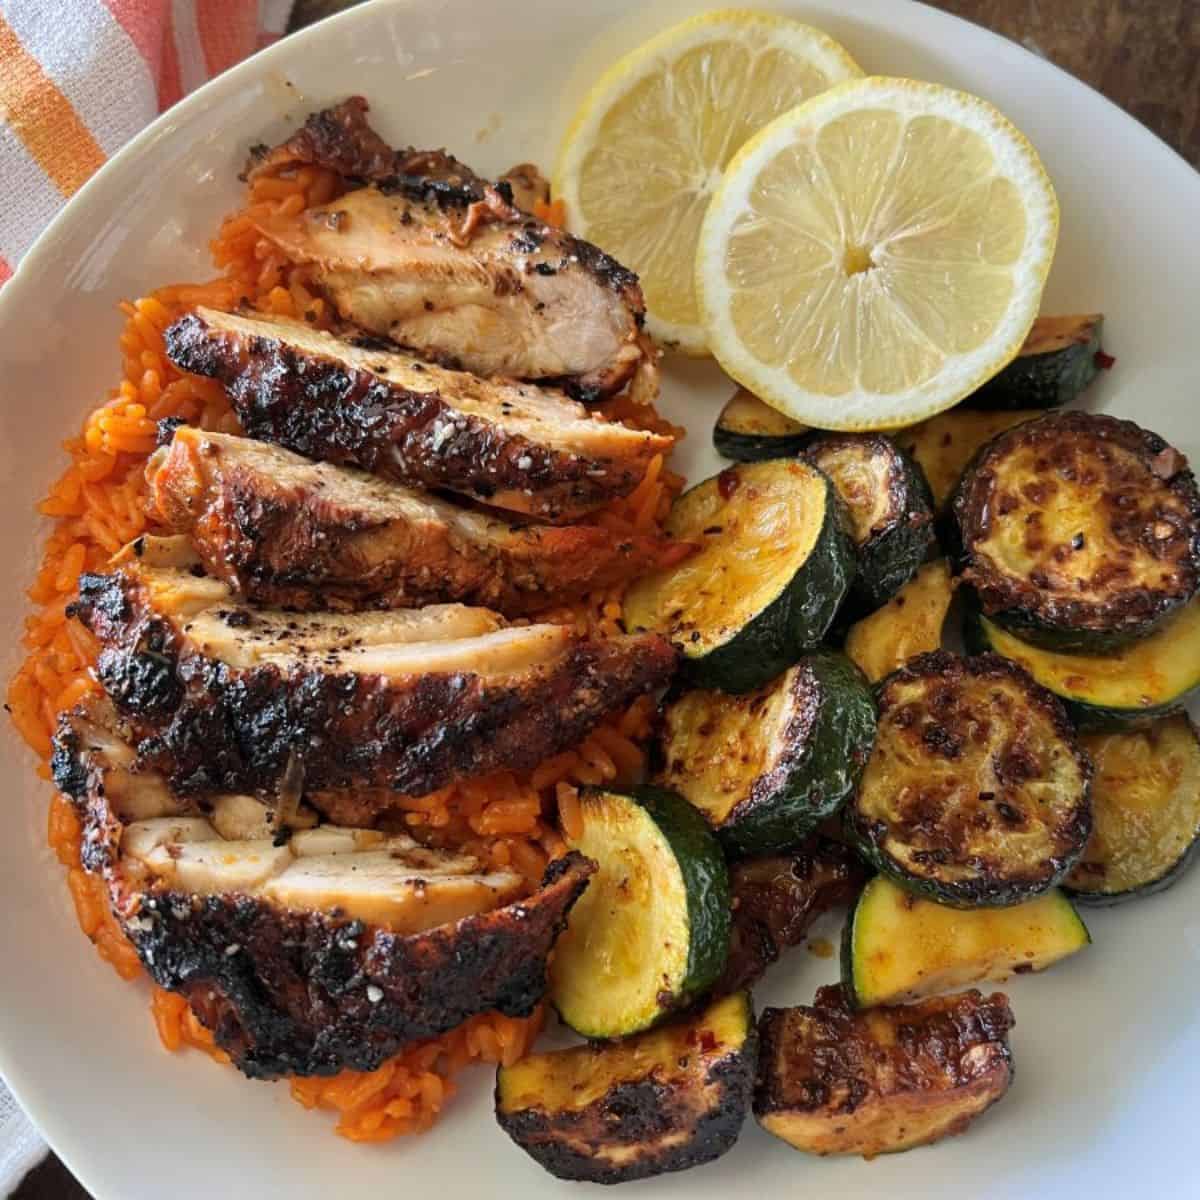
Grilled Asado Chicken with Sautéed Lemon Zucchini
-
Easy Chicken Caesar Wrap with Avocado & Bacon – Quick & Flavorful
-
Tajín Shrimp Tacos with Peach Salsa – Summer Dinner for Two
-
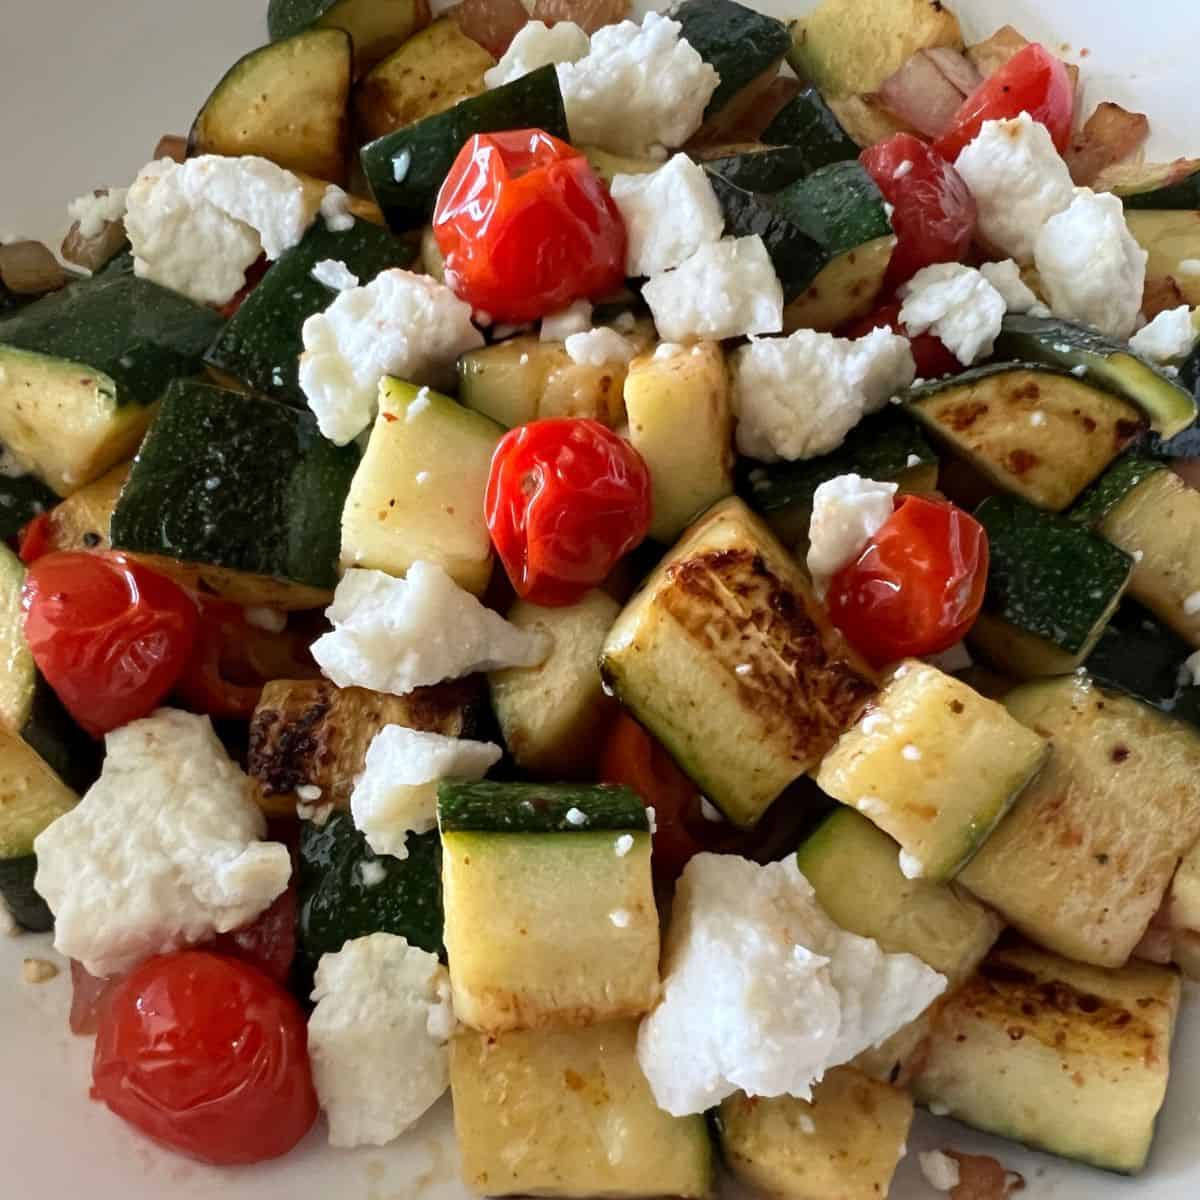
Mexican Zucchini with Queso Fresco
-
Easy Baked Chile Relleno Casserole
-
Easy Puerto Rican Beans (Habichuelas Guisadas)
-
Unforgettable Black Garlic Roast Chicken
-
Whistle Stop Café Fried Green Tomatoes Recipe
-
Puerto Rican-Style Picadillo Recipe: Easy to make at home
-
Utah-style cheesy potato casserole (Funeral Potatoes)
-
5-Minute Homemade Creamy Caesar Dressing Recipe
-
Easy Chicken Adobo Recipe (made in your Ninja Foodi)
-
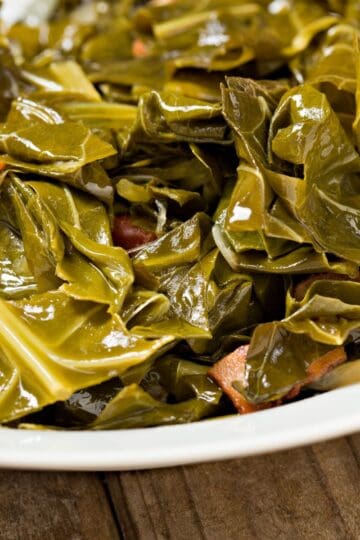
Pressure Cooker Collard Greens: A South Carolina Tradition Made Quick & Easy