
Soft, fluffy onion rolls made with a touch of onion soup mix for extra flavor. Perfect for North Shore-style roast beef sandwiches or burgers.

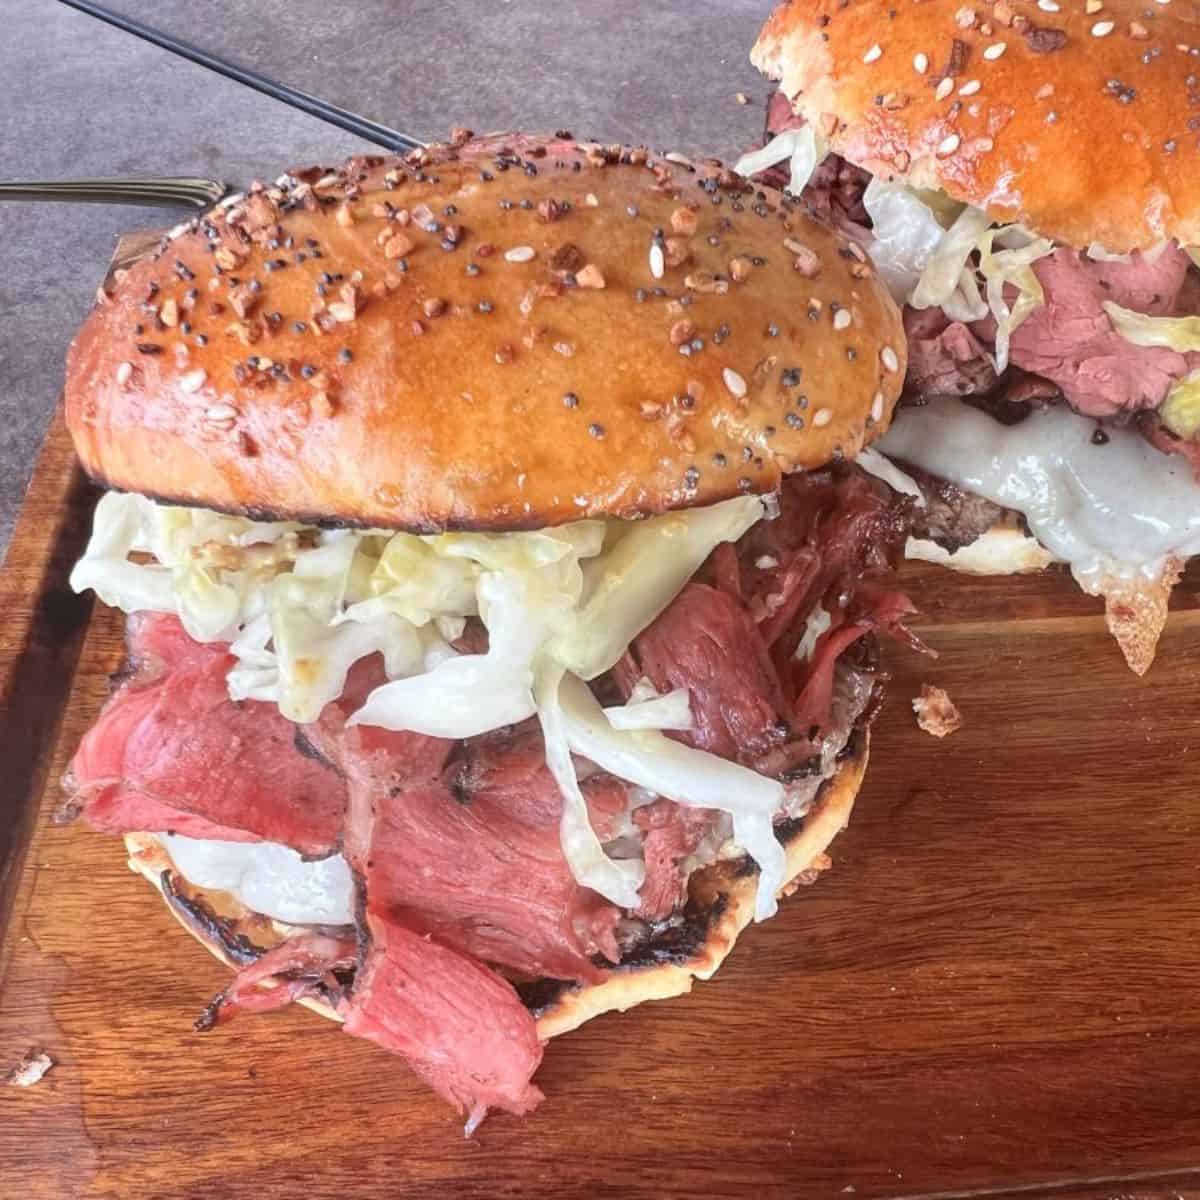
Once I decided I was going to make North Shore 3-Way sandwiches at home, I quickly realized the roll was going to matter just as much as the roast beef.
If you've ever looked into these sandwiches, you'll notice they're almost always served on soft onion rolls. They're light and fluffy, slightly sweet, and sturdy enough to hold up to a pile of roast beef, barbecue sauce, and mayo without falling apart.
Those rolls are easy to find in Massachusetts, but not so much here in Texas. So I decided to make my own, and here's how I did it.
Blooming the Yeast
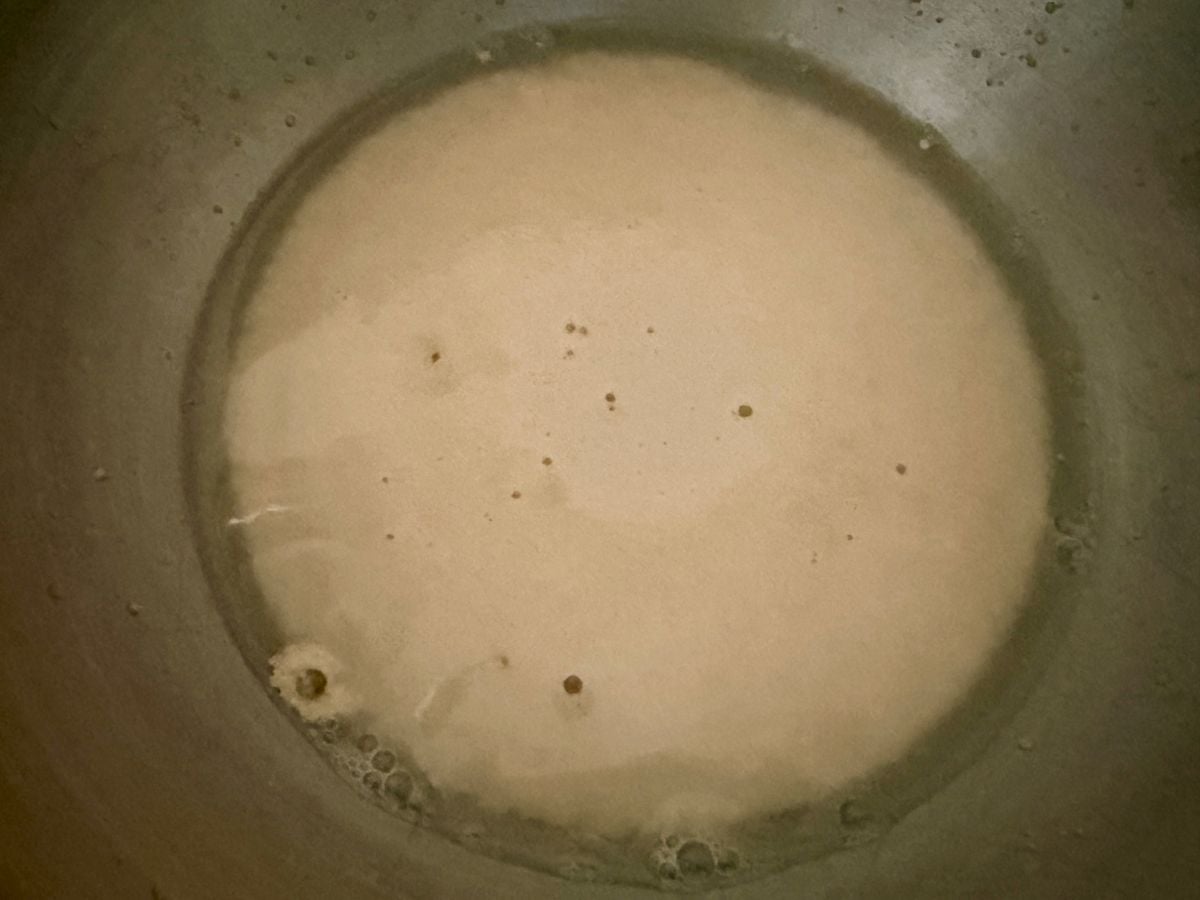
Like most bread recipes, this one starts with the yeast.
I mixed warm water with yeast and a little sugar and let it sit for a few minutes. When the yeast is active, it starts to foam and bubble slightly on the surface.
That's always the moment you know things are headed in the right direction.
Mixing the Dough
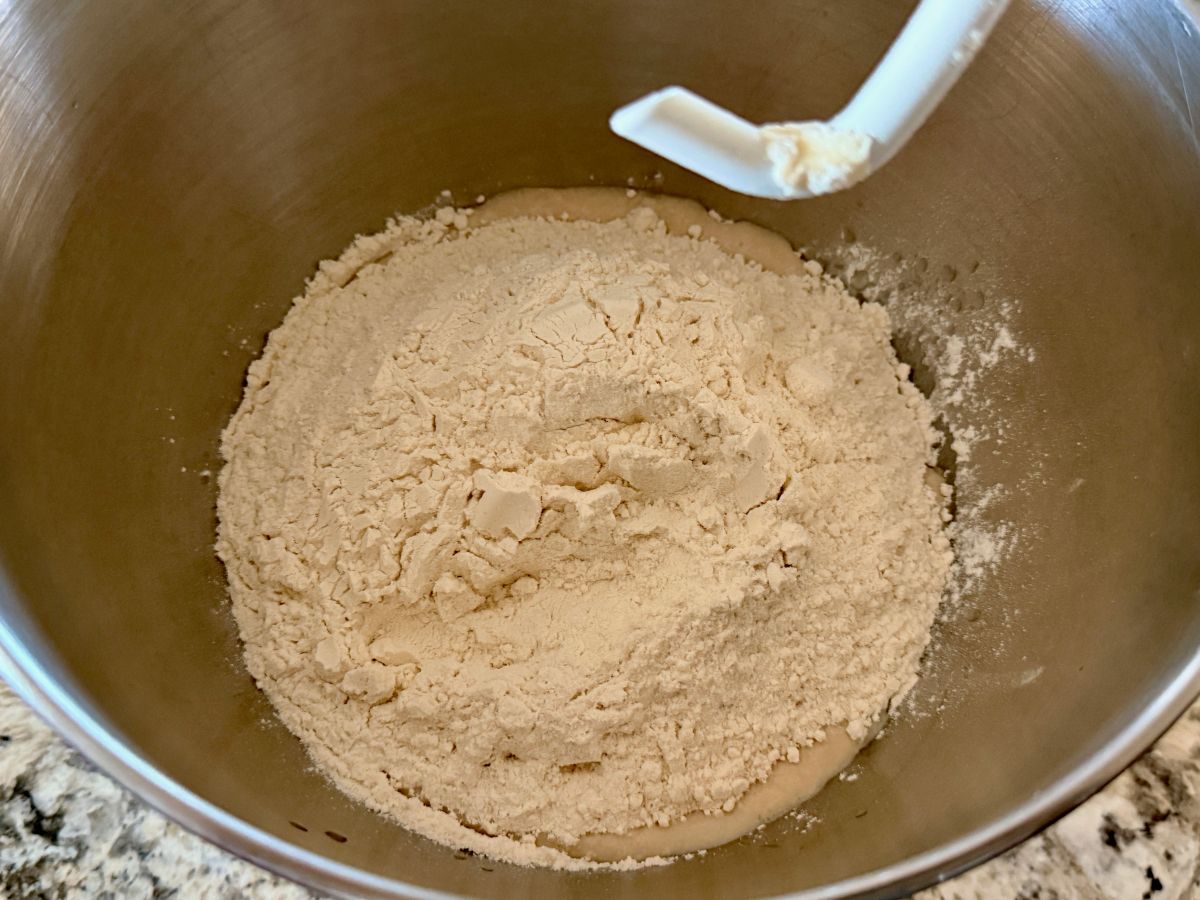
Once the yeast was ready, I added the flour and the rest of the ingredients to the bowl and started bringing the dough together.
At first, it looks a little rough and shaggy, but once everything begins to mix and hydrate, the dough starts to smooth out and form into a soft ball.
Adding Onion Flavor
Since these are onion rolls, I wanted that flavor baked right into the dough instead of only sitting on top.
I happened to have half a packet of onion soup mix left over from my first Two at the Table menu, so I stirred about a tablespoon of it directly into the dough. It already has dehydrated onion and seasoning mixed in, which makes it an easy way to add flavor.
It's also exactly the kind of thing I like to do when I'm cooking - using what's already open instead of letting it sit in the pantry.
Kneading
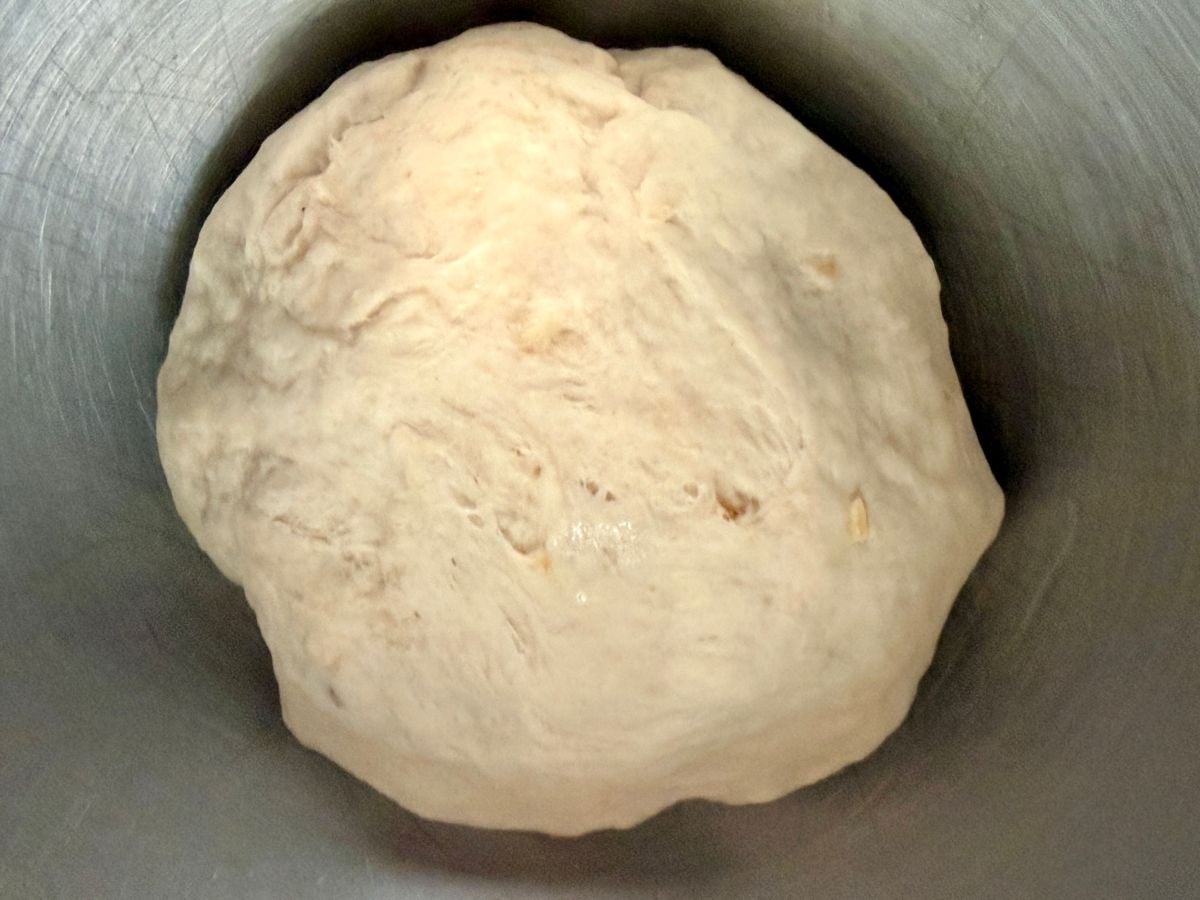
After a few minutes of kneading, the dough becomes much smoother and more elastic.
You can actually feel when the gluten starts to develop. The dough stretches easily and holds together instead of feeling sticky and uneven.
Once it reaches that point, it's ready to rest.
First Rise
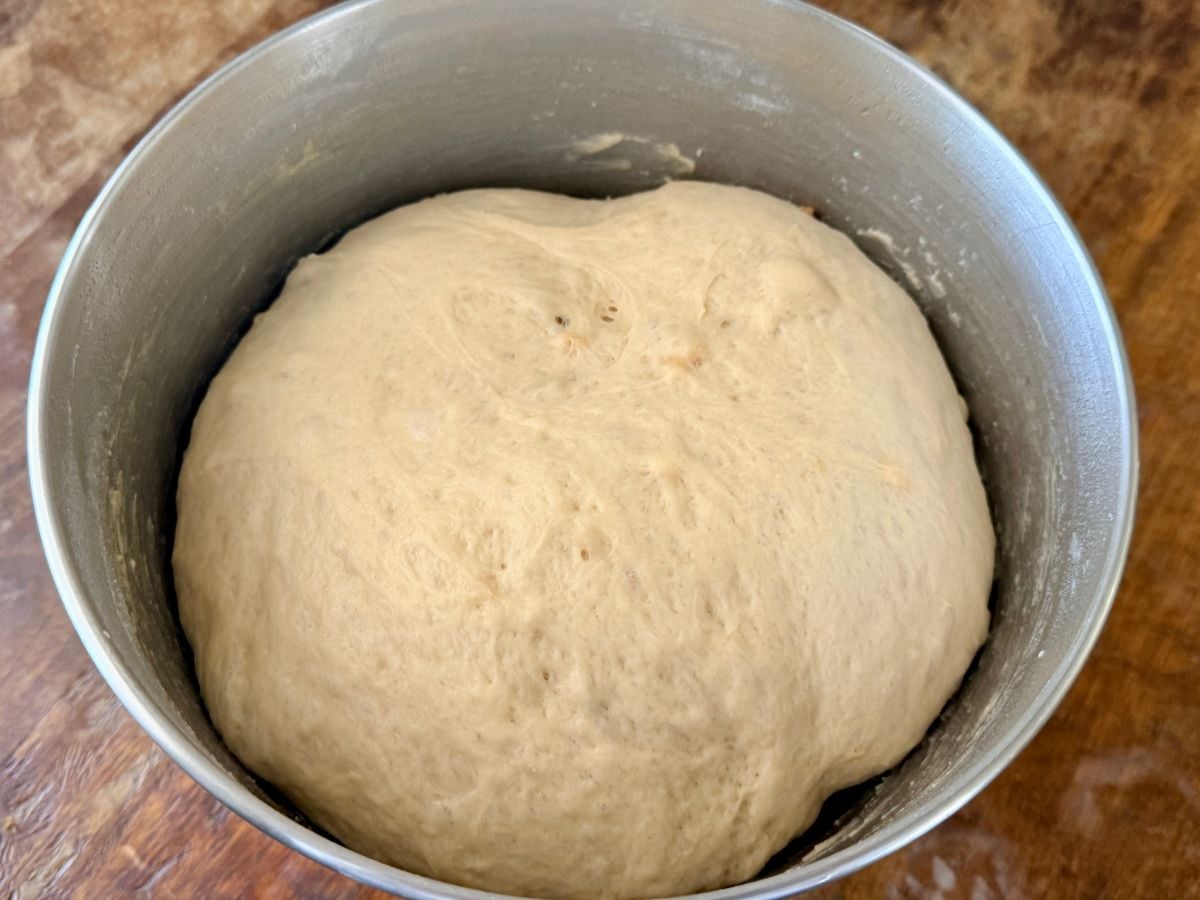
I covered the bowl and let the dough rise until it doubled in size.
During this stage, the yeast gets to work, creating air pockets that make the dough light and fluffy. When it's ready, the dough looks soft, inflated, and full of little bubbles just under the surface.
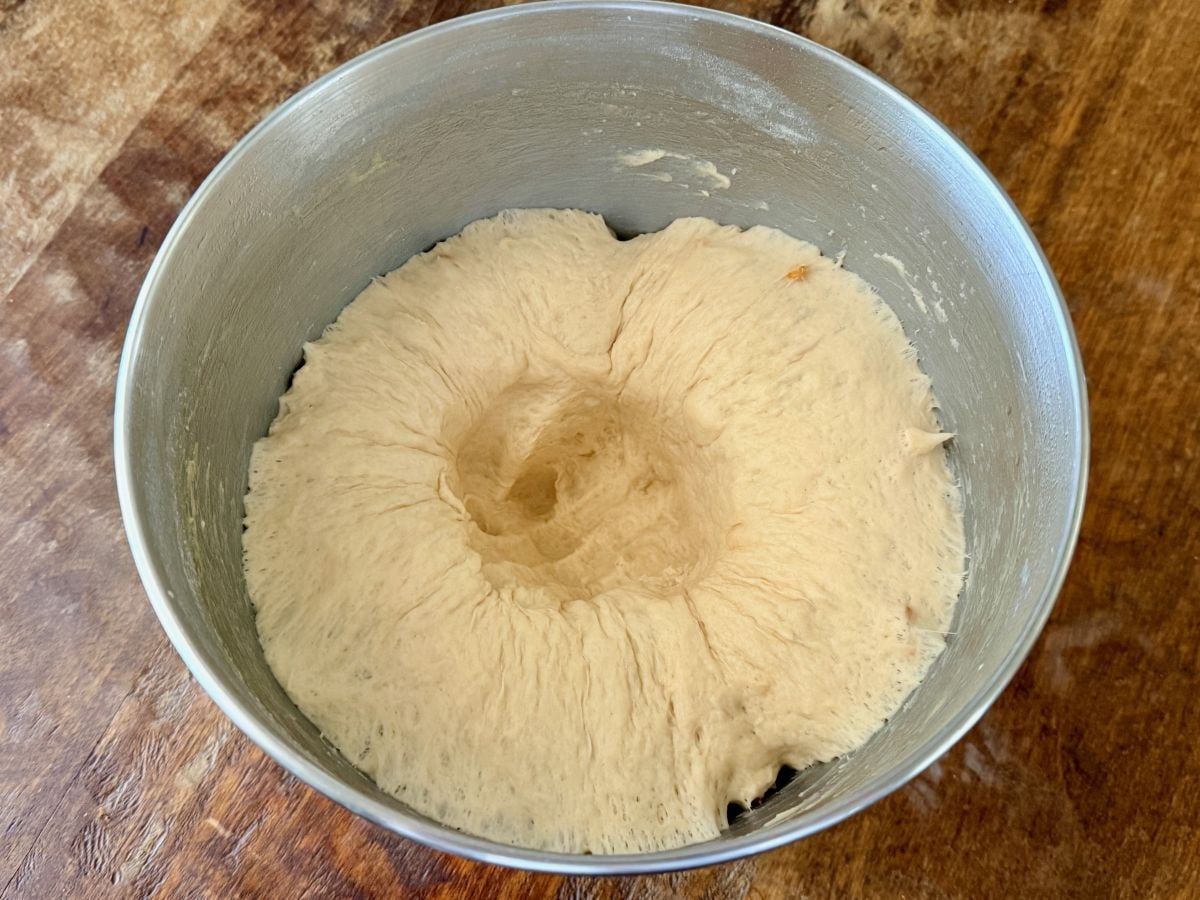
Punching Down the Dough
Once the dough had doubled, I pressed down into the center to release some of the trapped air.
This step helps redistribute the yeast and relaxes the dough so it's easier to divide and shape.
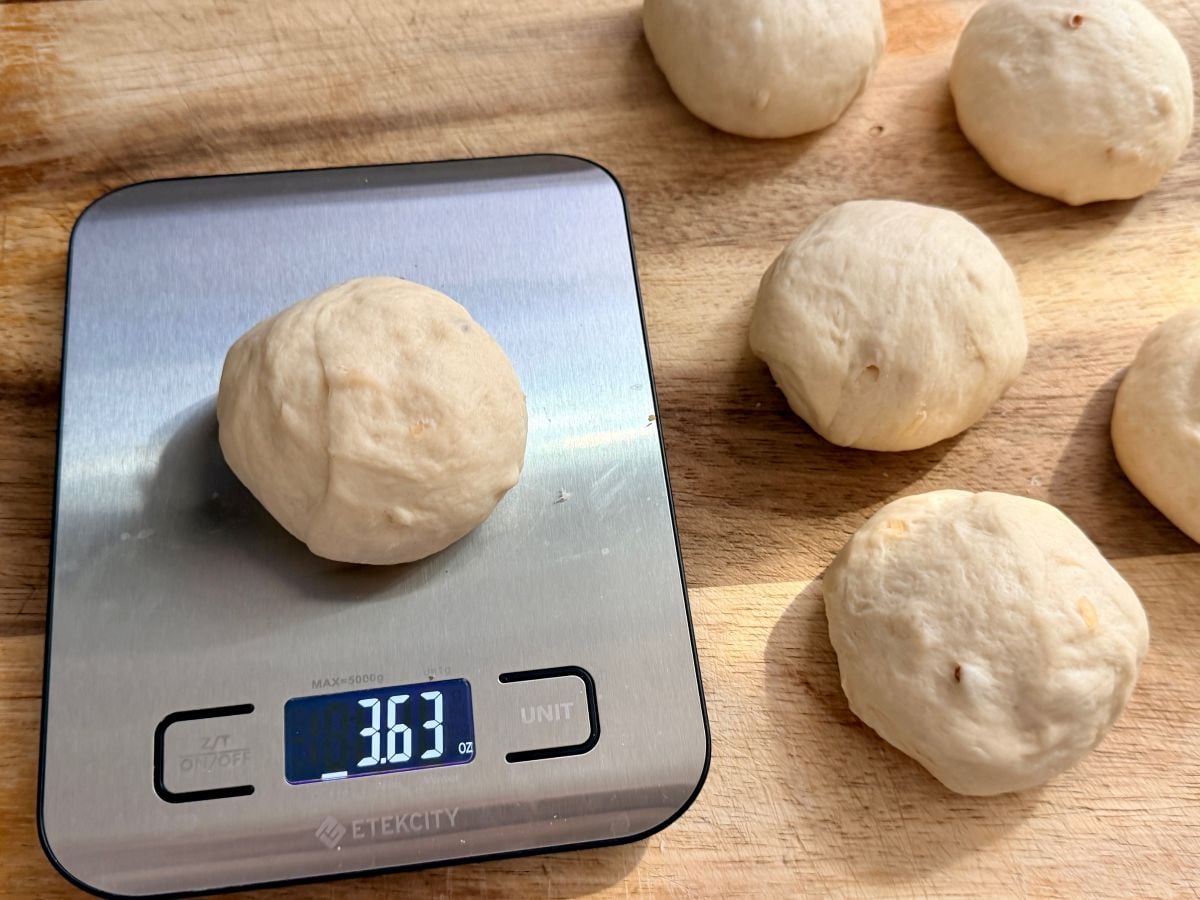
Dividing the Dough
Next, I turned the dough out onto the board and cut it into equal pieces.
For consistent rolls, I like to weigh them so they bake evenly. Each piece came out to about 3.6 ounces, which makes a really nice sandwich-sized roll.
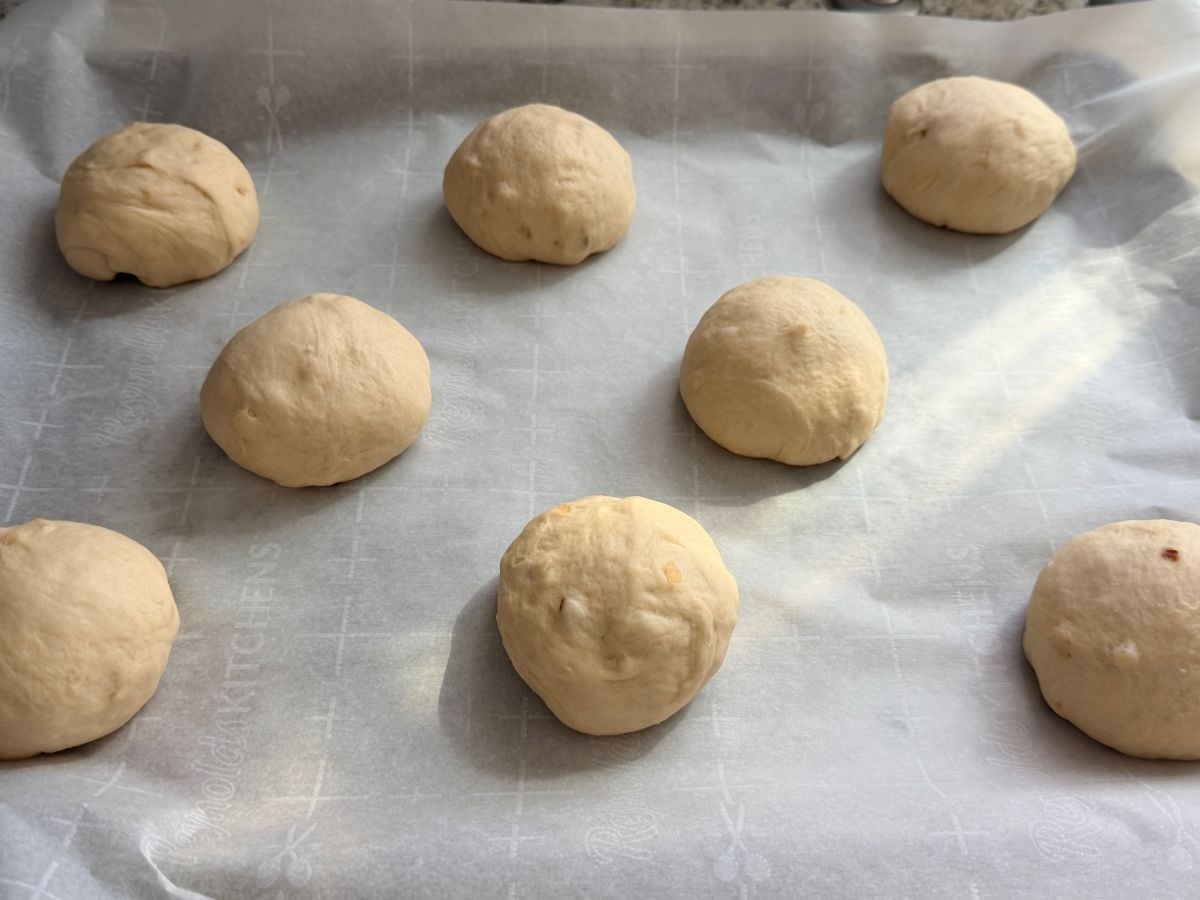
Shaping the Rolls
Each portion gets tucked and rolled underneath itself to create a smooth ball.
This builds a little surface tension on the outside of the dough so the rolls bake up round and hold their shape.
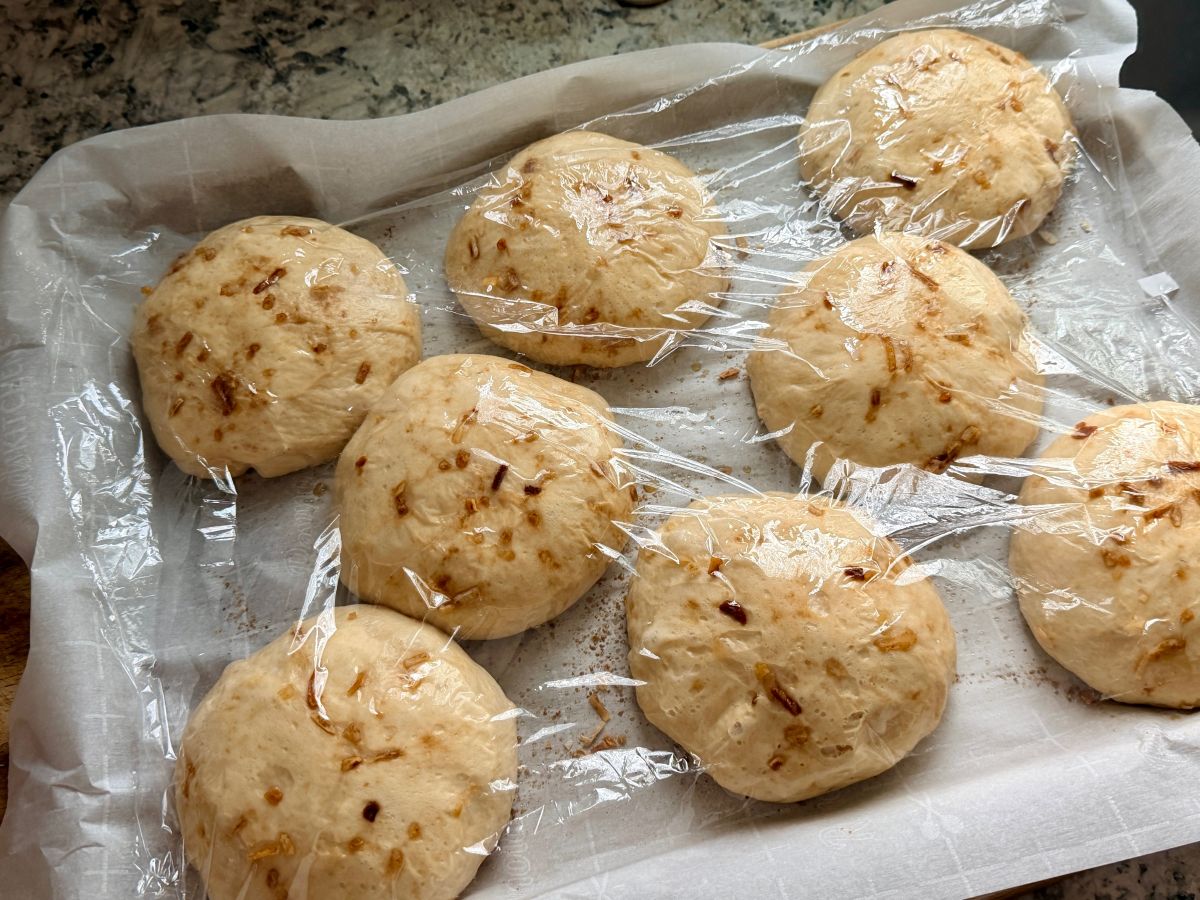
Once shaped, they go onto a parchment-lined sheet pan with a little space between them.
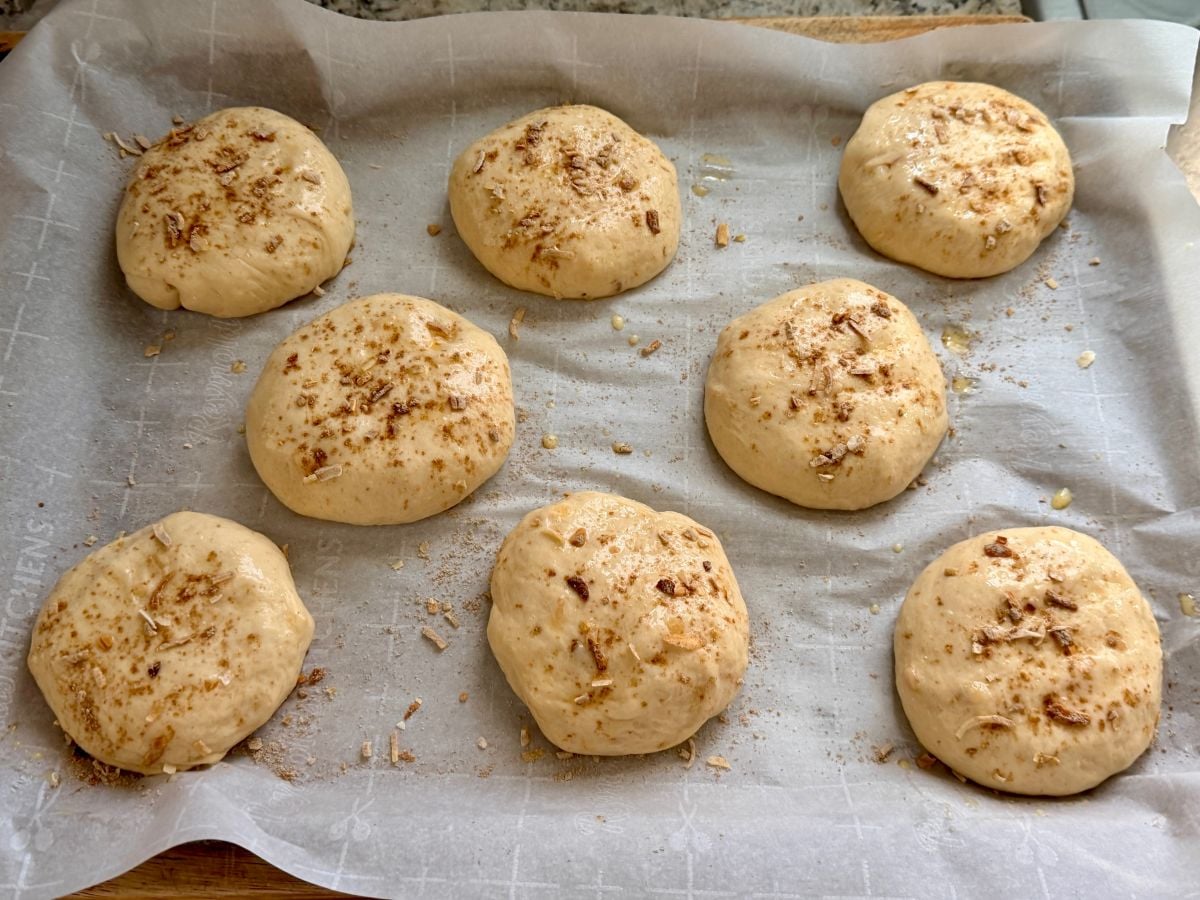
Egg Wash and Onion Topping
Before the second rise, I brushed the tops lightly with an egg wash.
Then I sprinkled the rest of that onion soup mix over the tops of the rolls. As the rolls bake, those bits of onion toast add even more flavor to the crust.
Second Rise
After shaping, press the balls down slightly to make more of a bun shape, then the rolls need one more rise.
I loosely covered the tray and let them puff up again until they looked soft and pillowy. This step helps create that light, fluffy texture inside the rolls.
Baking
Once they had risen again, the tray went into the oven.
As they baked, the tops turned lightly golden and the onions toasted across the surface. The kitchen started smelling like a bakery at that point.
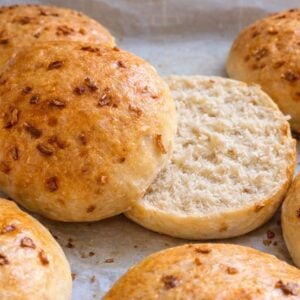
The Finished Rolls
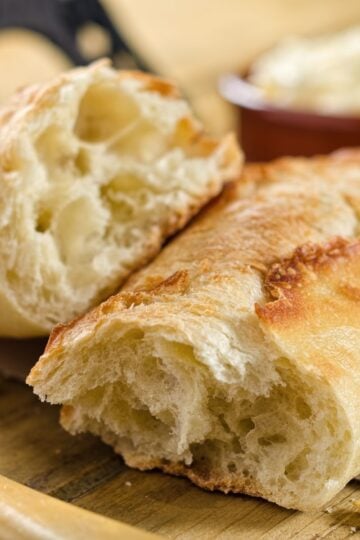
When they came out of the oven, the rolls were soft, lightly golden, and full of onion flavor.
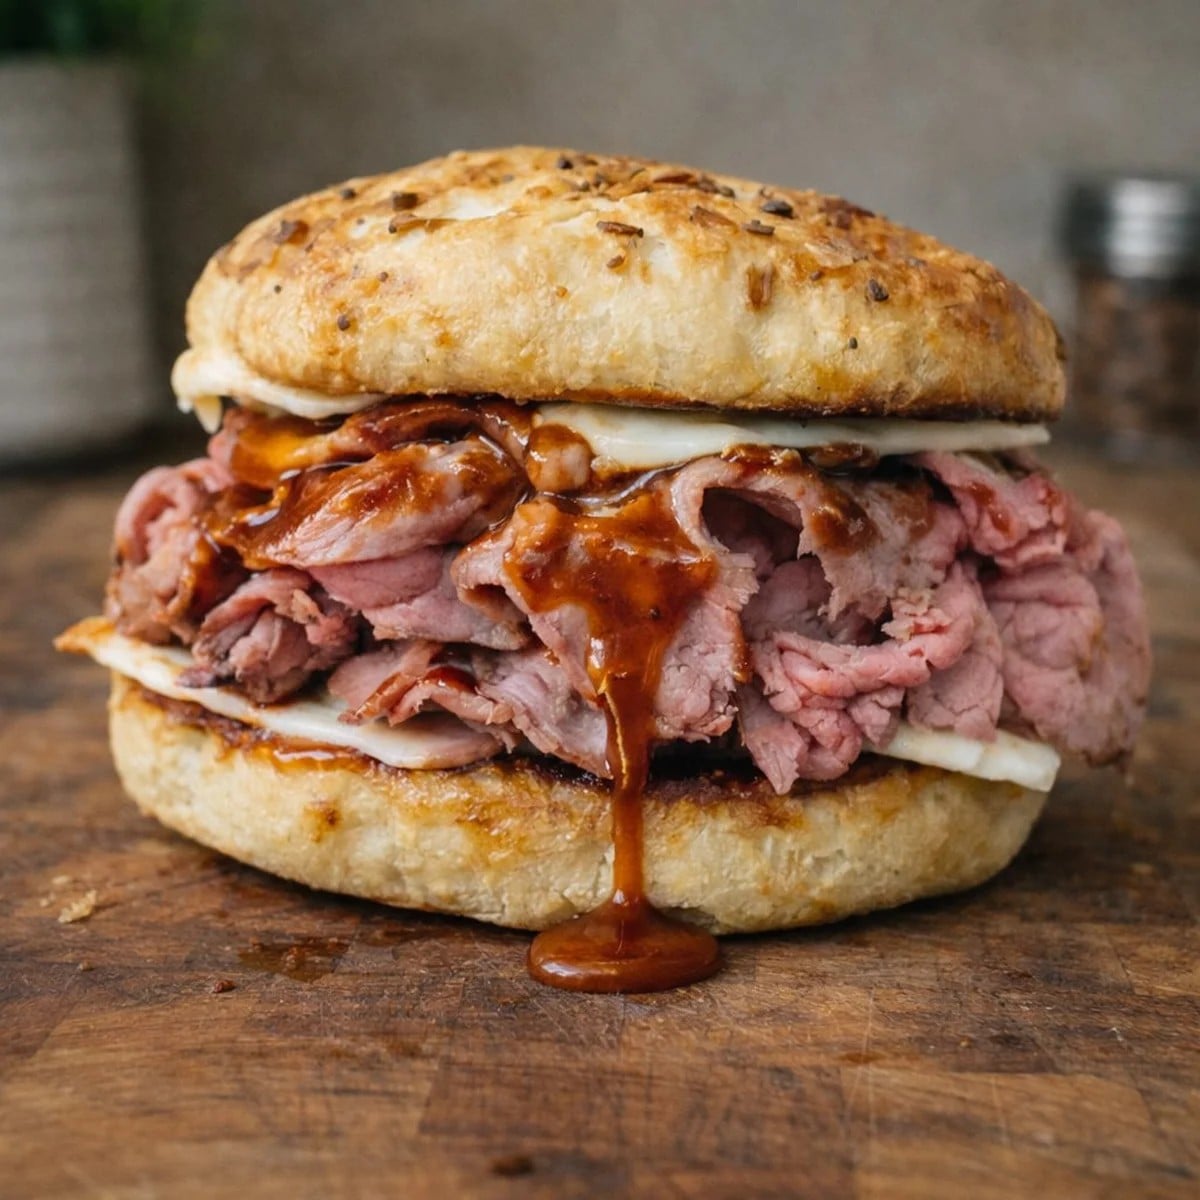
Slice one open and the inside is fluffy and tender - exactly what you want for a sandwich that's about to be piled high with roast beef and tangy bbq sauce.
These onion rolls ended up being exactly what I hoped for - soft, lightly flavored with onion, and sturdy enough to hold everything that makes a North Shore 3-Way so good.
They're simple to make, and once you try them, it's hard to go back to store-bought buns. Whether you're piling them high with roast beef or using them for burgers on the grill, they're one of those little kitchen projects that's well worth the effort.
Related Recipes

DID YOU MAKE THIS RECIPE?
I'd love to know how it turned out! Leave a review or snap a quick photo and tag me on Facebook.
Every time you share one of my recipes, it helps me grow this blog-and I'm so grateful for your support.
As always, I will be back next week with more delicious recipes from my RV kitchen to yours!
This post may contain affiliate links. Read my full disclosure policy.
Learn how to get Amazon deliveries straight to your RV.
How I Made the Onion Rolls for My North Shore 3-Way Sandwiches
Ingredients
- ¾ cup warm water
- 1 tablespoon sugar
- 1 packet active dry yeast
- 2 tablespoons neutral oil
- 1 large egg
- 1½ teaspoons kosher salt
- 2¾-3 cups all-purpose flour
- ½ package onion soup mix divided
- 1 egg beaten with 1 tablespoon water egg wash
Instructions
- In the bowl of a stand mixer combine the warm water, sugar, and yeast.
- Let sit about 5 minutes, until foamy.
- Add the oil, egg, salt, onion soup mix, and 2¾ cups flour.
- Using the dough hook, mix about 5 minutes until the dough becomes smooth and slightly tacky. Add additional flour if needed.
- Cover the bowl and let the dough rise in a warm spot until doubled, about 90 minutes.
- Punch down the dough and turn it onto a work surface. Divide into 8 equal pieces (about 3½-3.6 oz each).
- Shape each into a smooth ball and place on a parchment-lined baking sheet.
- Flatten slightly if using them for sandwich buns.
- Cover loosely and let rise again until puffed, about 30 minutes.
- Preheat oven to 375°F.
- Brush the tops gently with the egg wash and sprinkle with the remaining onion soup mix. Press lightly so it sticks.
- Bake 18-22 minutes, until lightly golden.
- Let the rolls cool before slicing.
Notes
| Calories | 190 |
| Total Fat | 5g |
| Saturated Fat | 1g |
| Carbohydrates | 30g |
| Fiber | 1g |
| Sugar | 2g |
| Protein | 5g |
| Sodium | 330mg |

If you are into connecting with people through food and are inspired by new places and experiences, subscribe to my newsletter, Detour Ahead!
Simple recipes, small adventures, and stories from the road.

Leave a Reply