
I'll be honest-baguettes always felt like one of those "leave it to the bakery" things. But this little mini baguette? Totally doable at home.
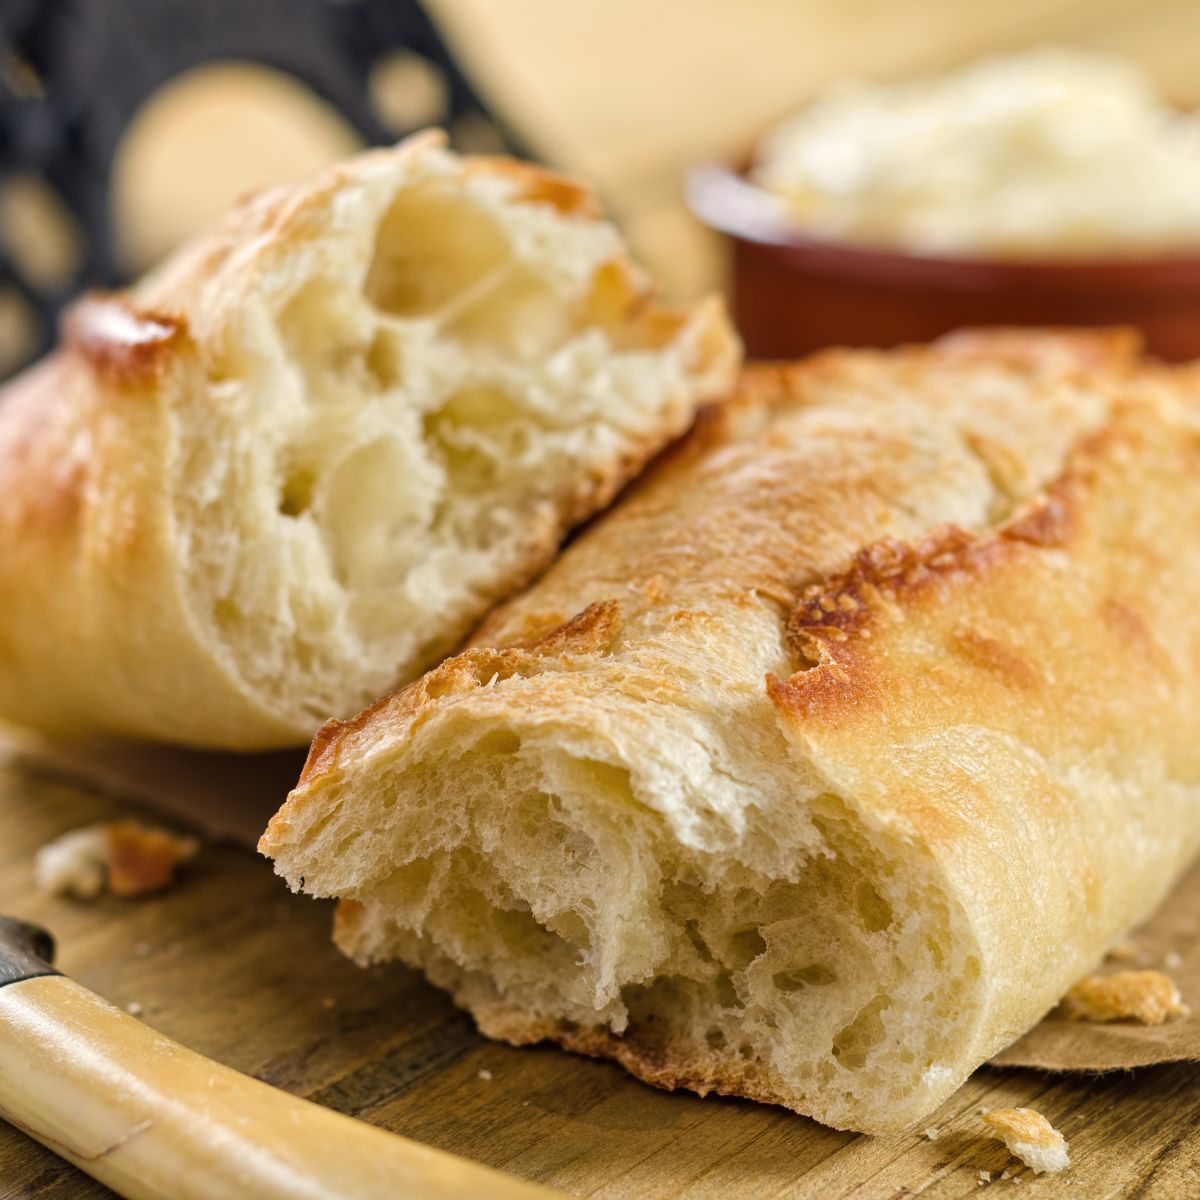
This is a small-batch baguette made with just a handful of pantry ingredients and baked into one perfectly sized loaf. It's great for sandwiches, ripping into it while it's warm with butter, or serving alongside my Creamy Tomato Basil Soup. It has that crackly crust you want, a soft, airy inside, and none of the pressure of committing to multiple loaves of bread.
It's simple. It's forgiving. And it fits real life-especially if you're cooking for two.
If bread has ever made you nervous, this is a good place to start.
Not because it's fancy or impressive, but because it's manageable. The dough is small, the steps are slow and forgiving, and there's plenty of time built in to pause, check in, and see what's happening. You don't need special skills or instincts you don't have yet - just a bowl, a little patience, and the willingness to trust the process.
I've written this recipe the way I wish someone had explained bread to me the first time. Clear steps. What to look for and what not to worry about. If something feels a little messy or imperfect along the way, you're probably doing it right.
When it comes out of the oven, golden and crackly, you'll get it. And if it's not perfect? That's okay. It's only a few inexpensive ingredients. Just give it another shot.
~ Holly ❤️
Why You'll Love This Recipe
- Just one mini baguette - no waste
- Made with bread flour for structure and chew
- Active dry yeast, bloomed first, so you know it's working
- No kneading required
- Ready in a few hours
- Perfect size for couples and small kitchens
Let's Gather Up the Ingredients
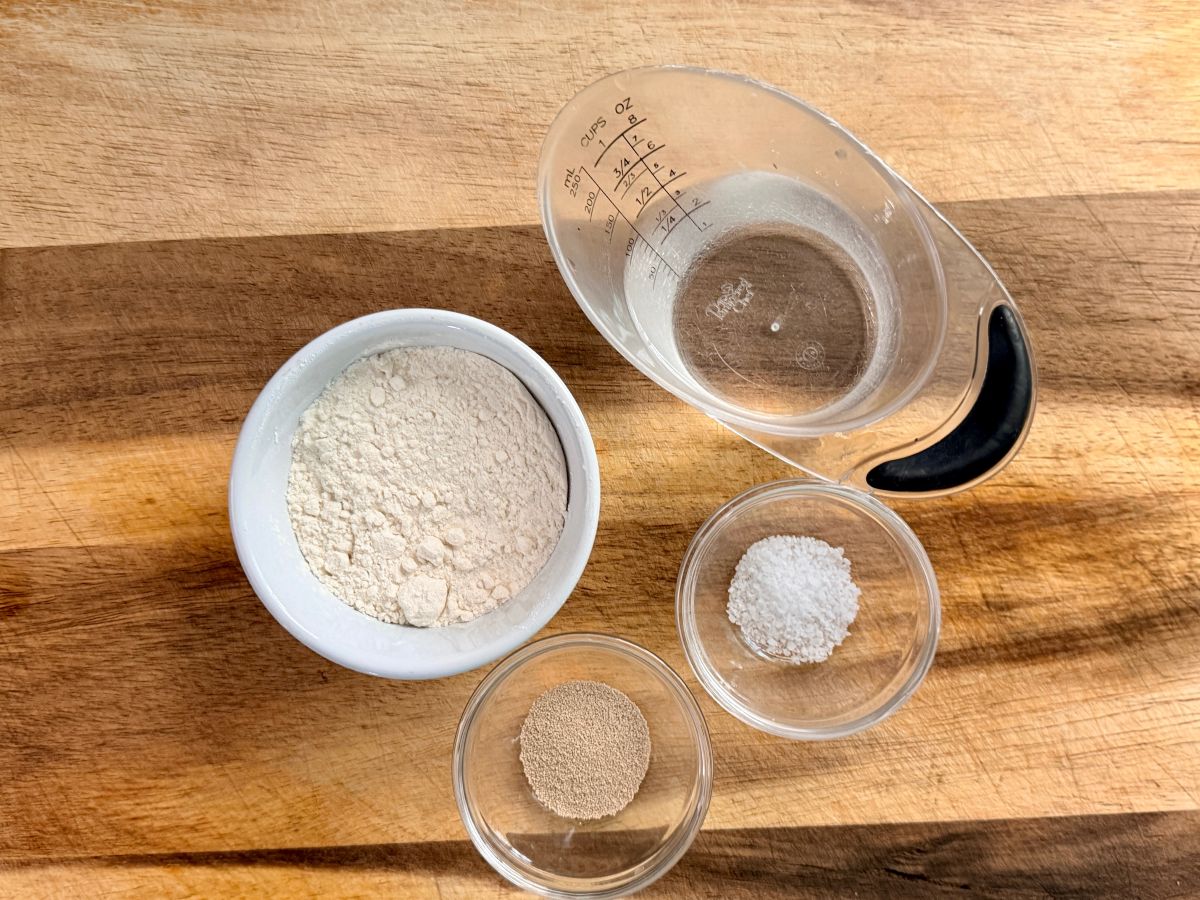
Organizing all of your ingredients ahead of time not only streamlines the cooking process but also ensures you have everything required to complete the dish successfully. You can find the exact ingredient amounts in the recipe card below.
- Bread flour - Gives the baguette strength and a better crumb
- Active dry yeast - Bloomed in warm water before mixing
- Warm water - Think warm bath water, not hot
- Salt - Adds flavor and helps control yeast activity
Tip for success:
A quick note on measurements:
Baking is much more consistent when ingredients are weighed, especially in small-batch recipes like this one. I've included U.S. volume measurements for convenience, but for best results, I recommend getting an inexpensive kitchen scale and treating cup measurements as a general guide rather than an exact science.
Step-by-Step: Mini Baguette for First-Time Bread Bakers
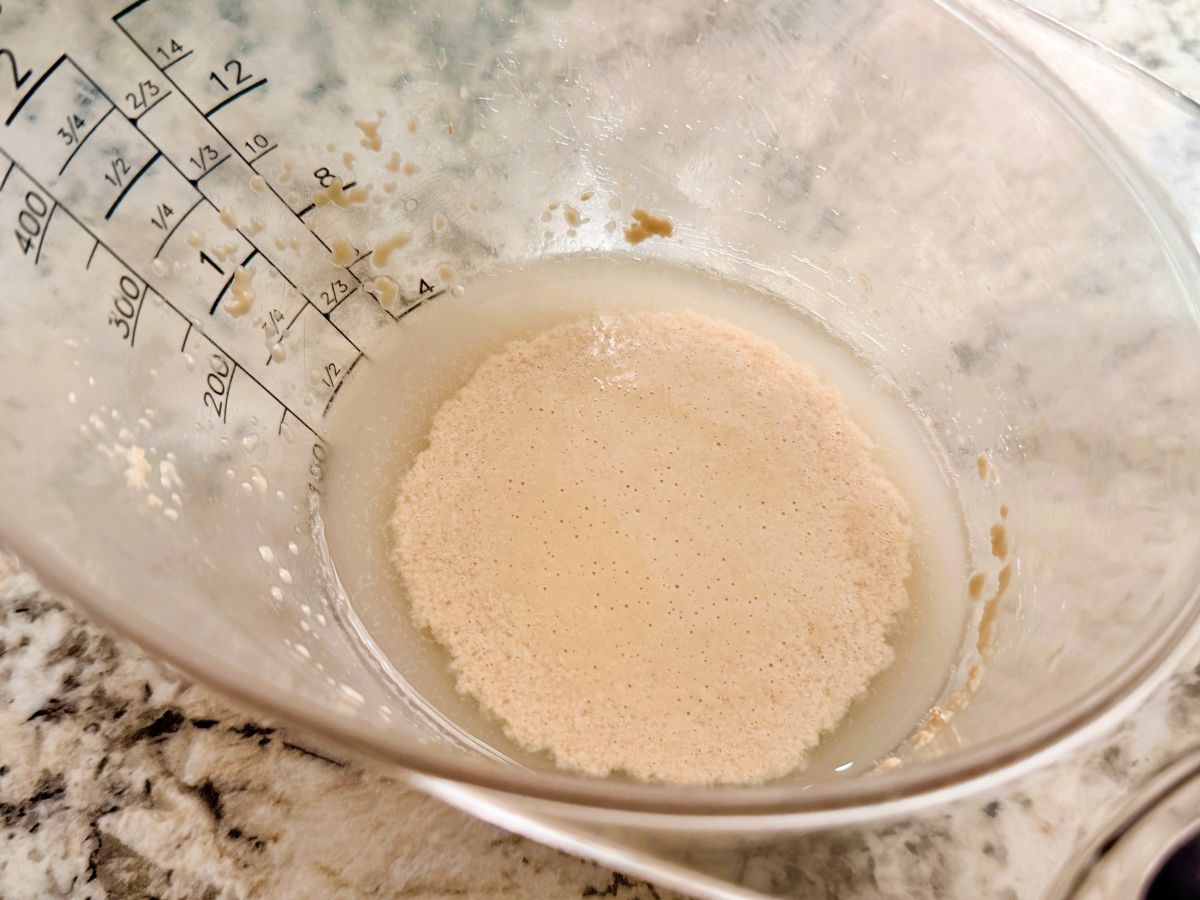
Bloom the Yeast
Warm your water until it feels comfortably warm to the touch. Pour it into a small bowl or measuring cup, sprinkle the active dry yeast over the top, and give it a quick stir.
Let it sit for a few minutes. It should look cloudy or lightly foamy. If nothing happens, your yeast may be old, or the water temperature may have been off.
Mix the Dough
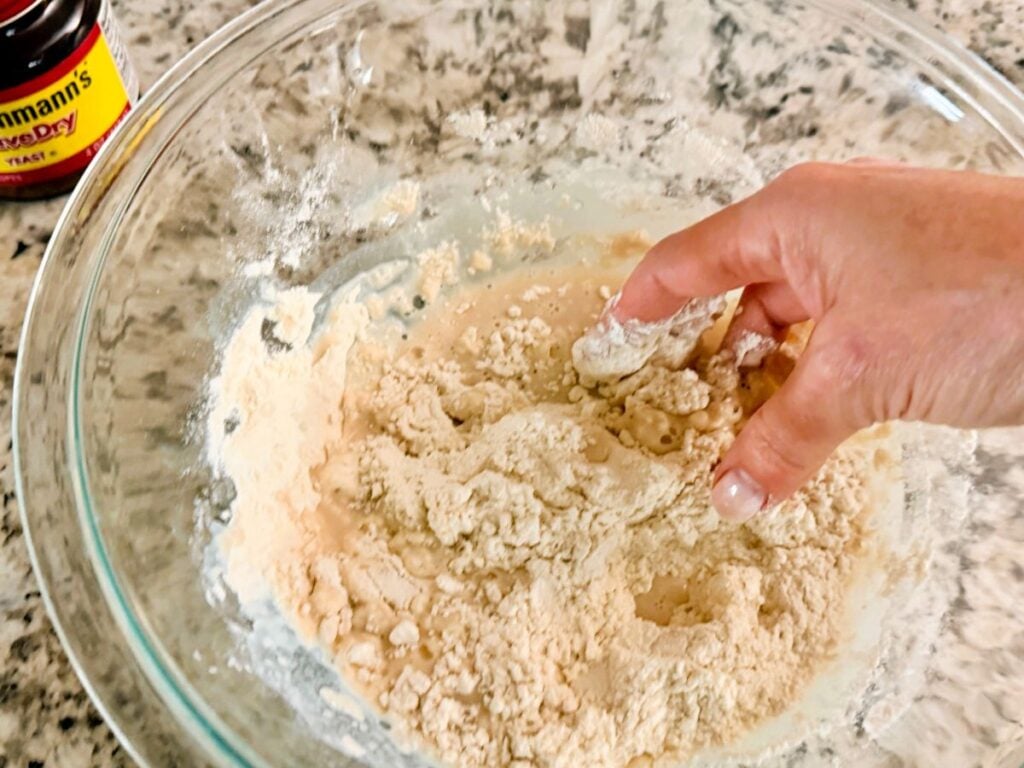
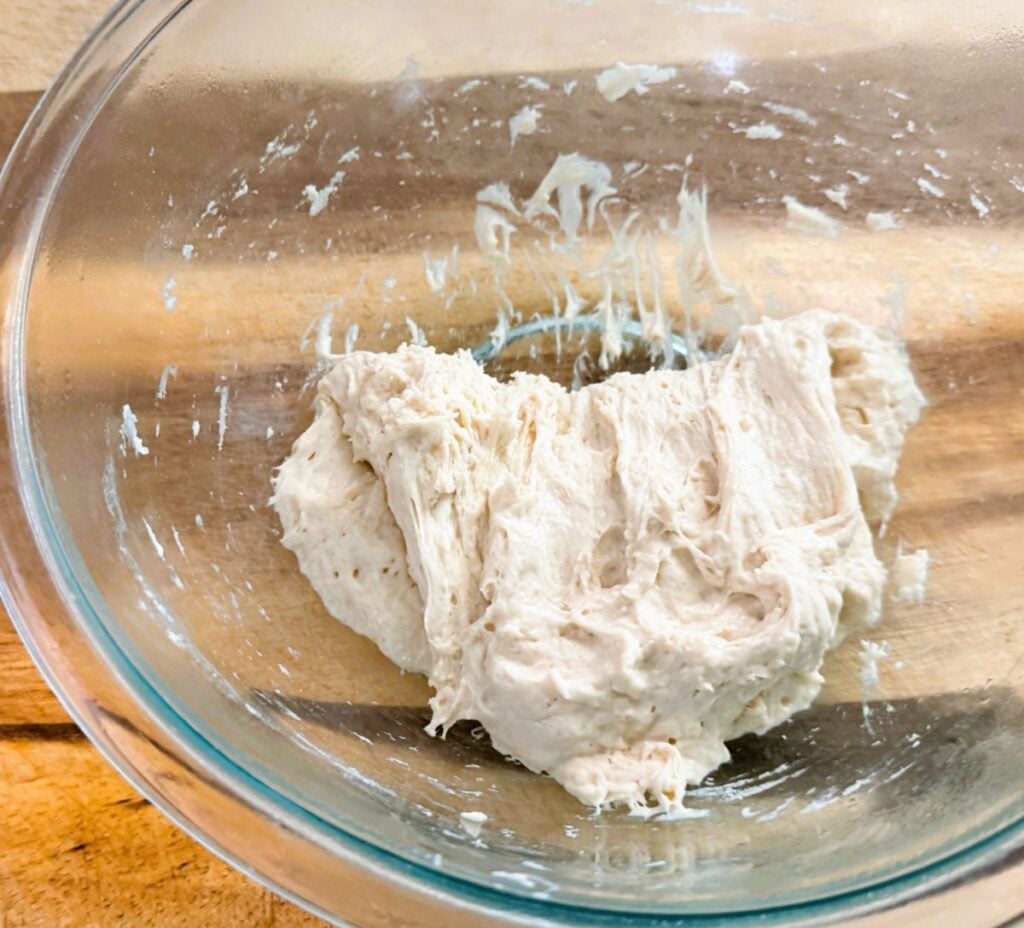
In a medium mixing bowl, stir together the bread flour and salt. Pour in the bloomed yeast mixture.
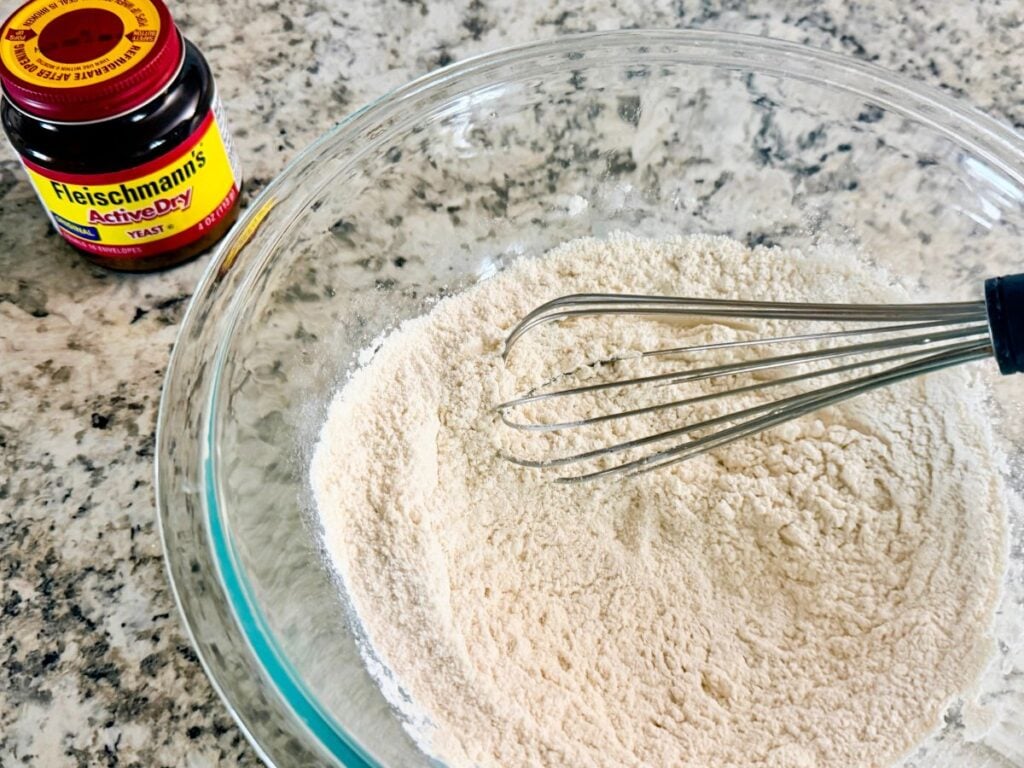
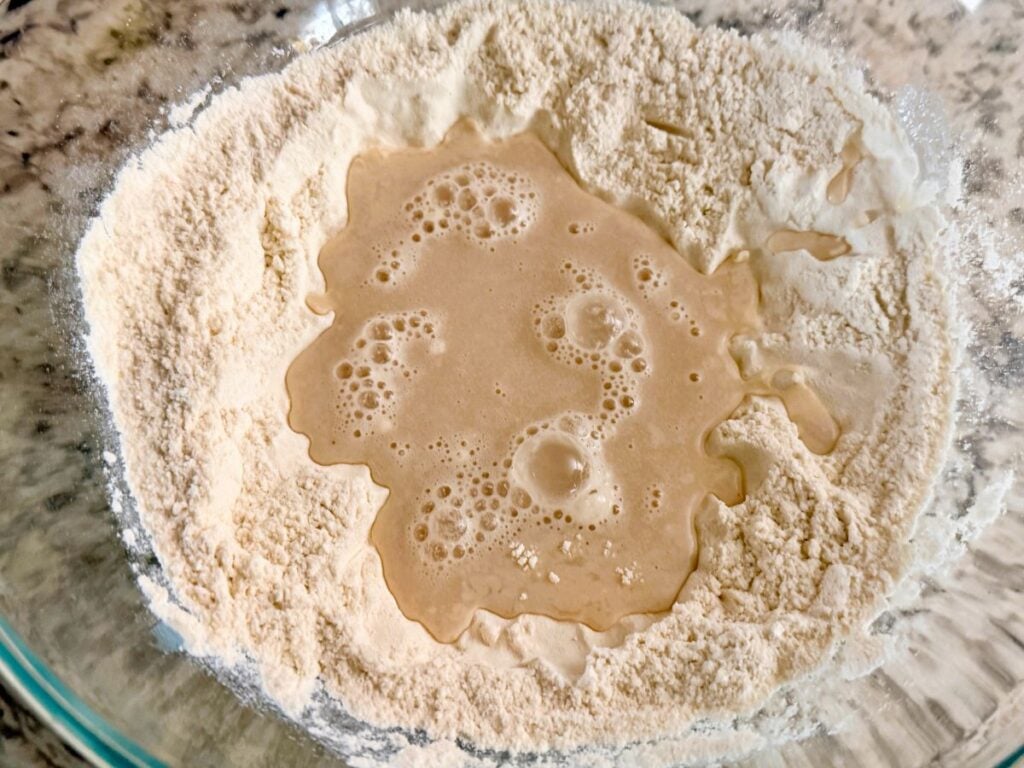
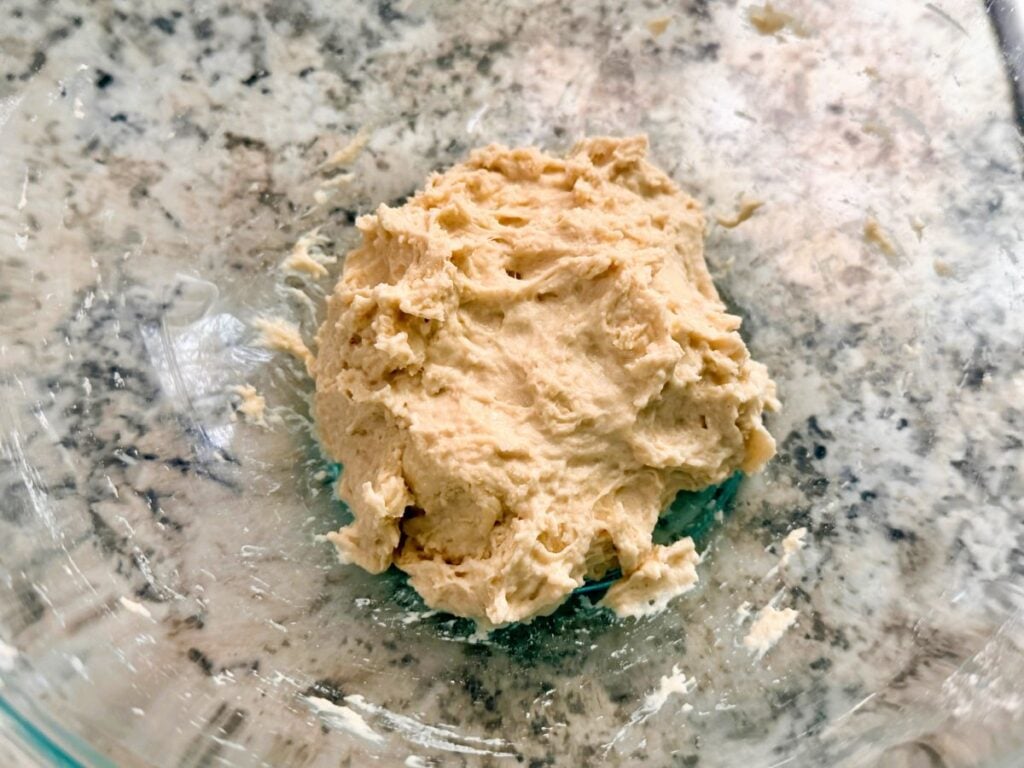
Mix with a spoon or clean hands until no dry flour remains. The dough will look messy, sticky, and shaggy. That's exactly what you want. Do not knead.
First Rest
Cover the bowl and let the dough rest at room temperature. This gives the flour time to hydrate and starts gluten development without effort.
Fold the Dough (Instead of Kneading)
You'll do two rounds of folds during the first hour.
To fold:
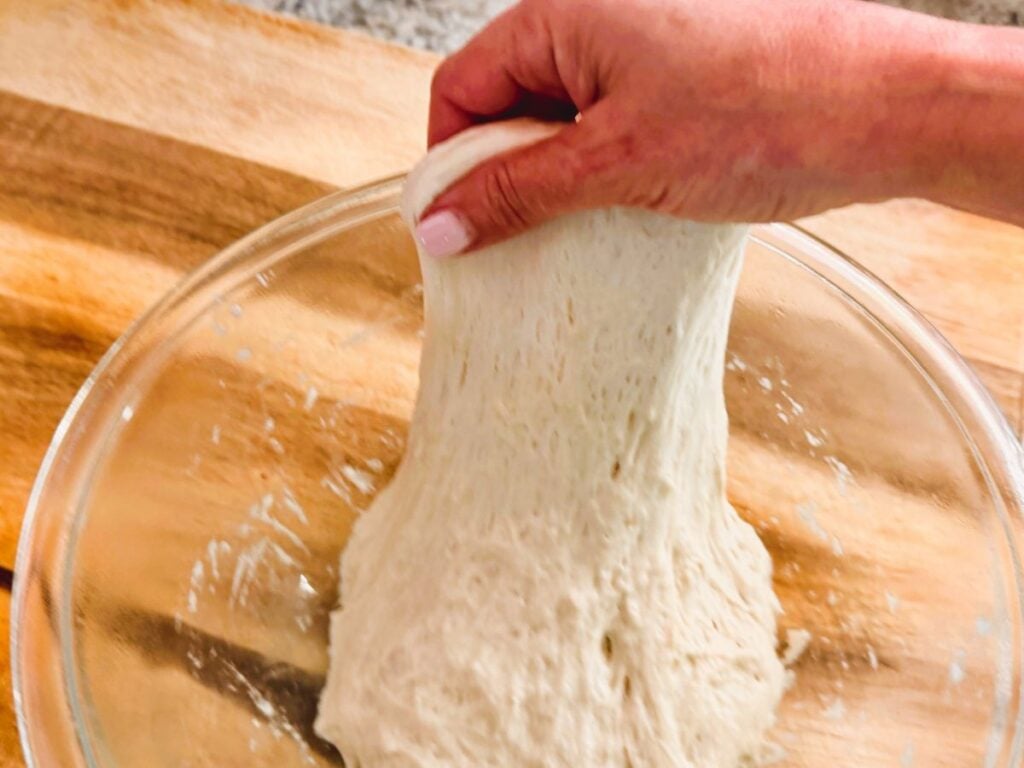
- Wet your hand (this prevents sticking)
- Grab one edge of the dough, stretch it gently upward, then fold it over the center
- Rotate the bowl a quarter turn and repeat
- Continue until you've gone all the way around the bowl
Cover and rest, then repeat one more round of folds.
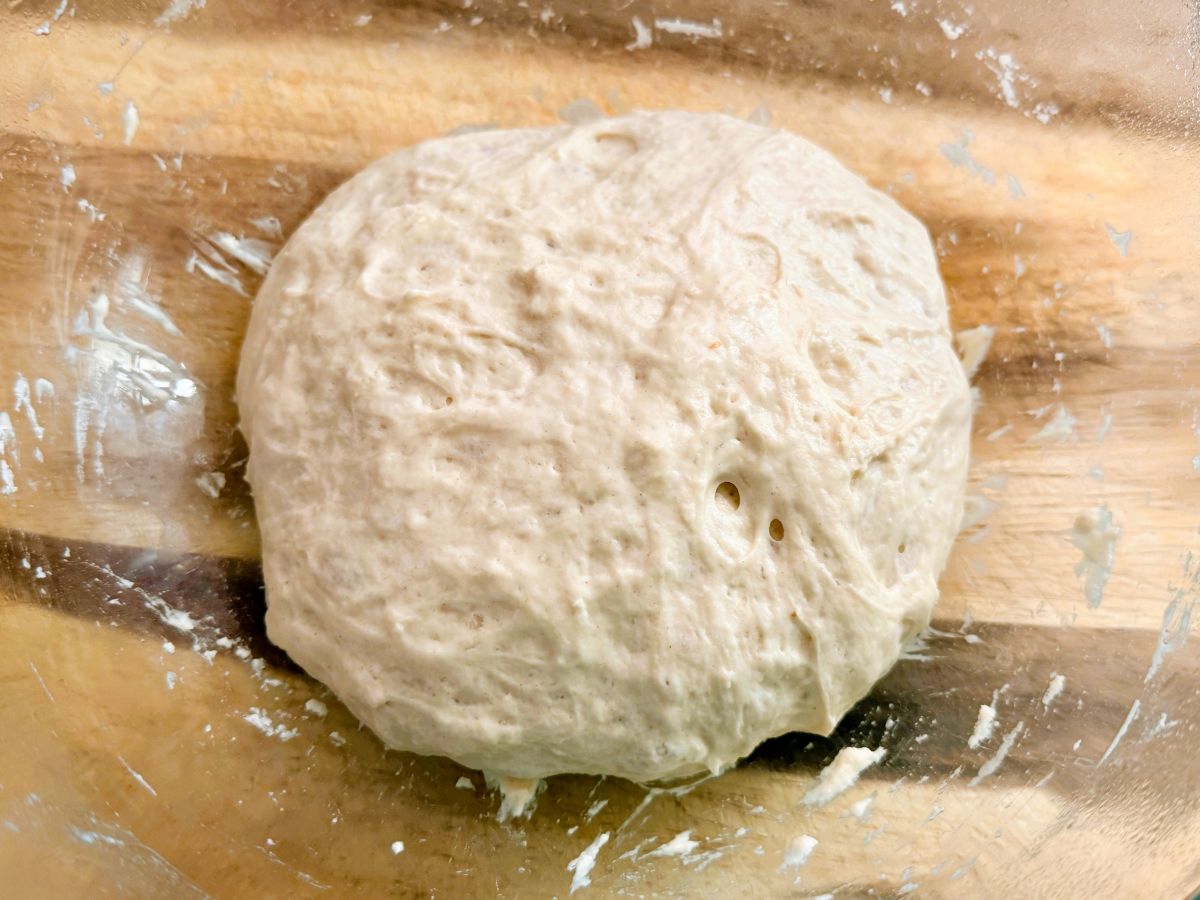
After the second set, cover the bowl and let the dough rise until it looks noticeably puffier and airy.
Shape the Baguette
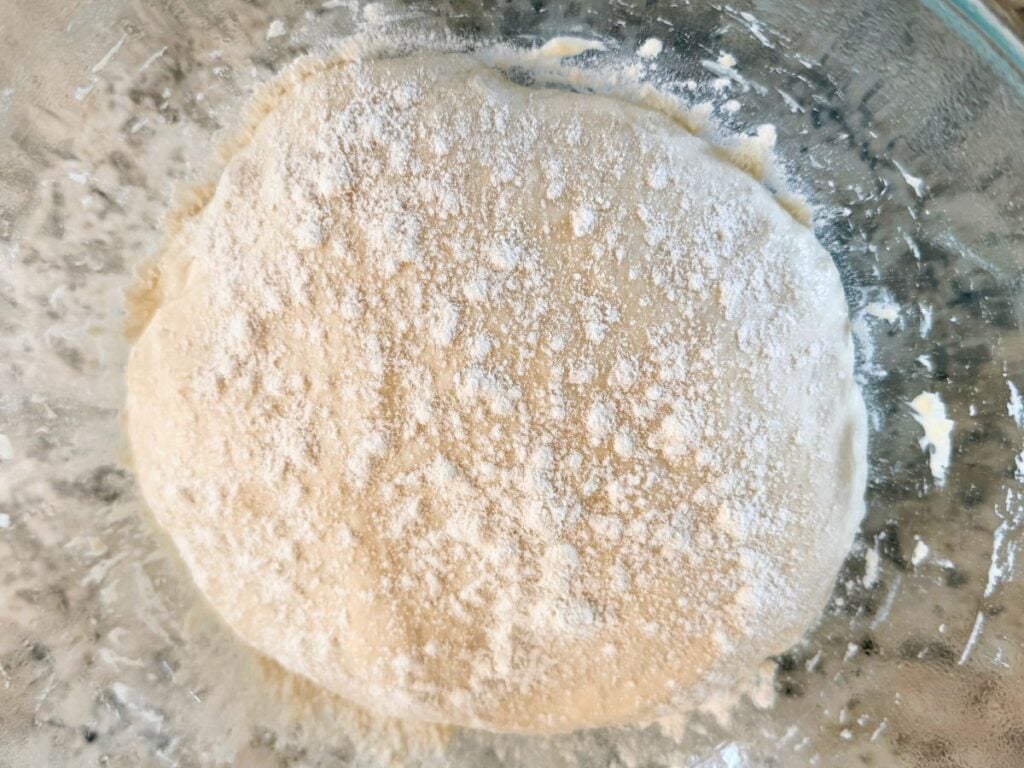
Lightly flour your counter. Dust the top of the dough in the bowl so it releases easily, then gently turn it out.
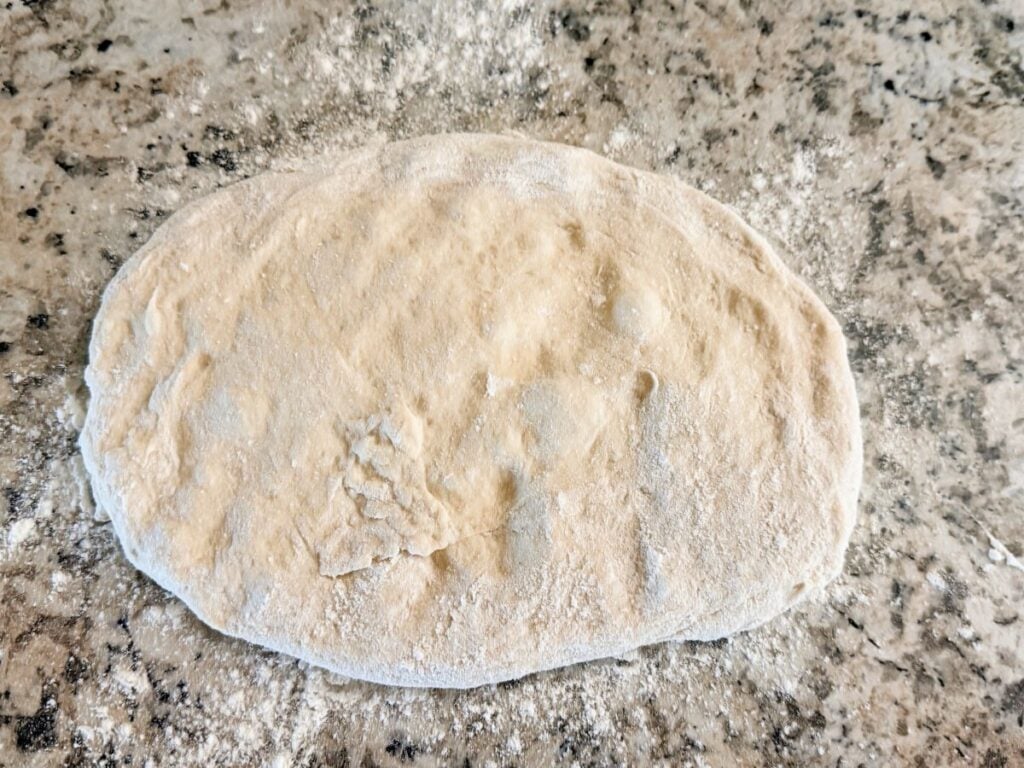
Stretch or pat the dough into a rough rectangle. Fold the top third down and press lightly to seal. Rotate and repeat. Then fold once more so the dough becomes a short log, pinching the seam closed.

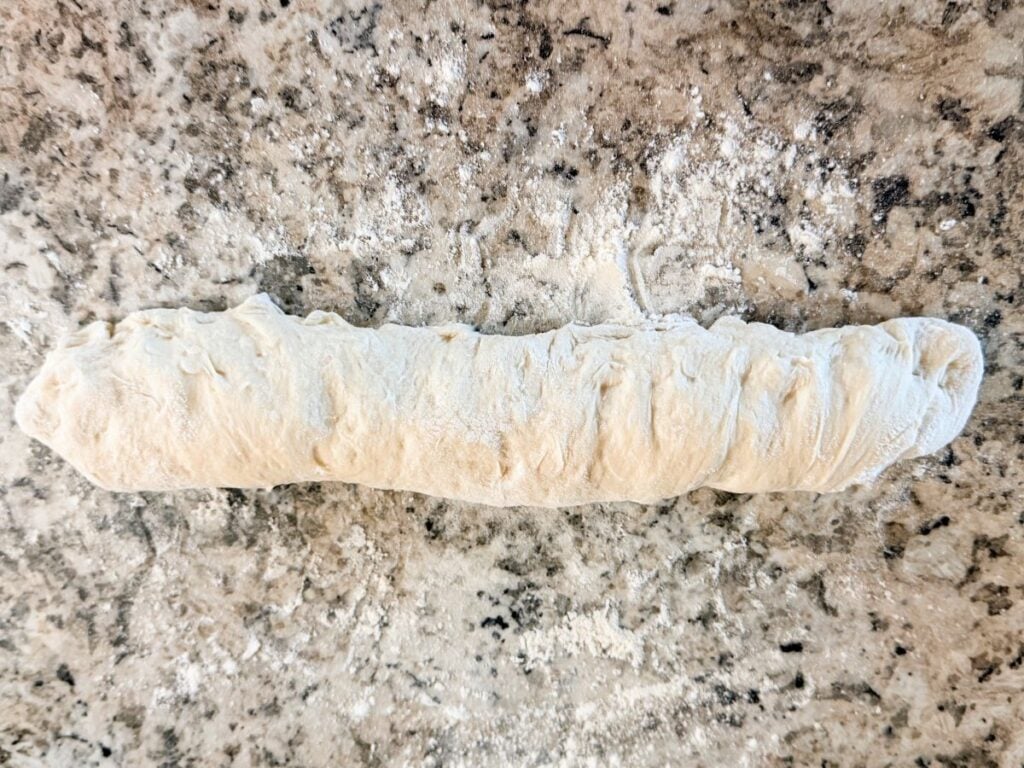
Don't overwork it. A little flour helps, but use it sparingly.
Taper and Support the Shape
Roll the dough gently just enough to even it out, then taper the ends with light pressure.
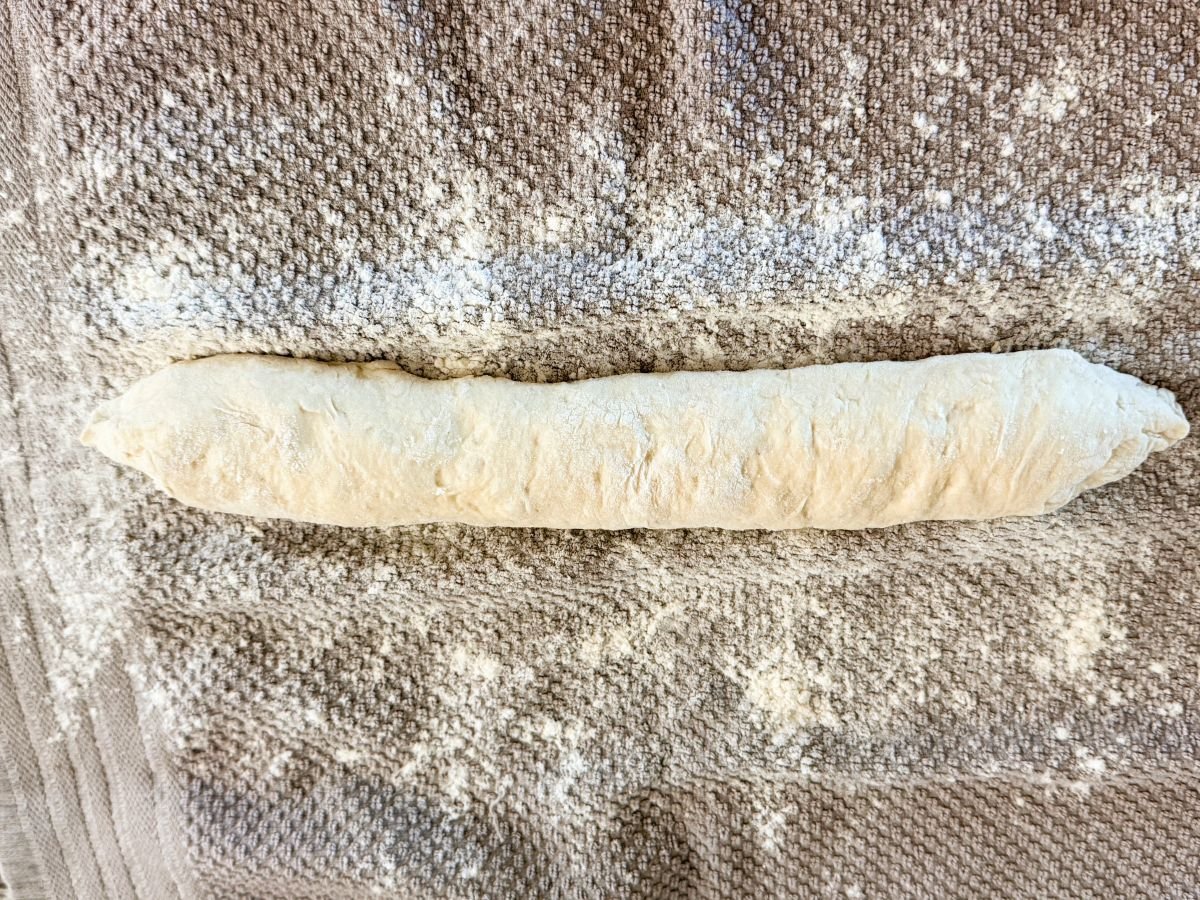
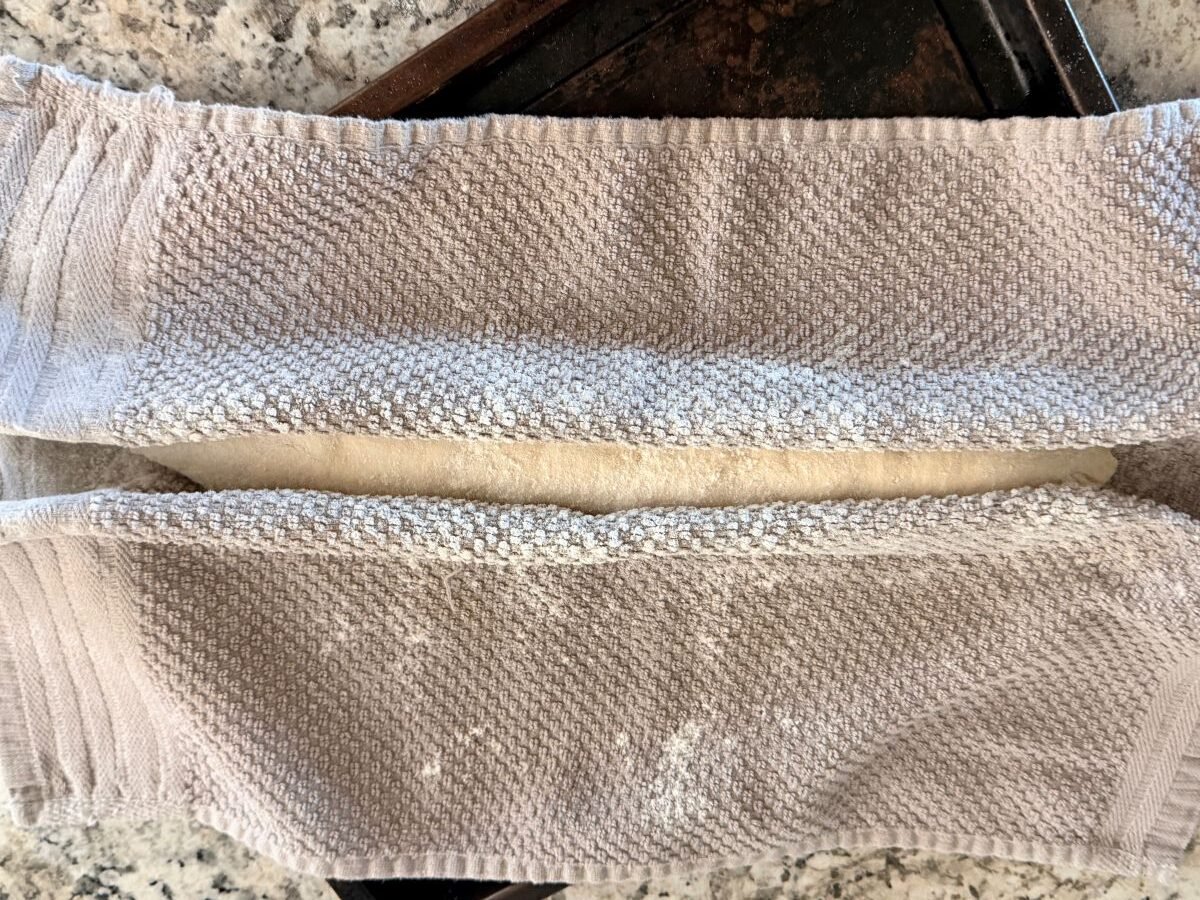
Place the loaf seam-side down on a floured kitchen towel. Pull the towel up on both sides to support the shape. Cover so it doesn't dry out.
Preheat the Oven
Place your Dutch oven (with the lid on) in the oven and preheat thoroughly. This step is key to a good crust.
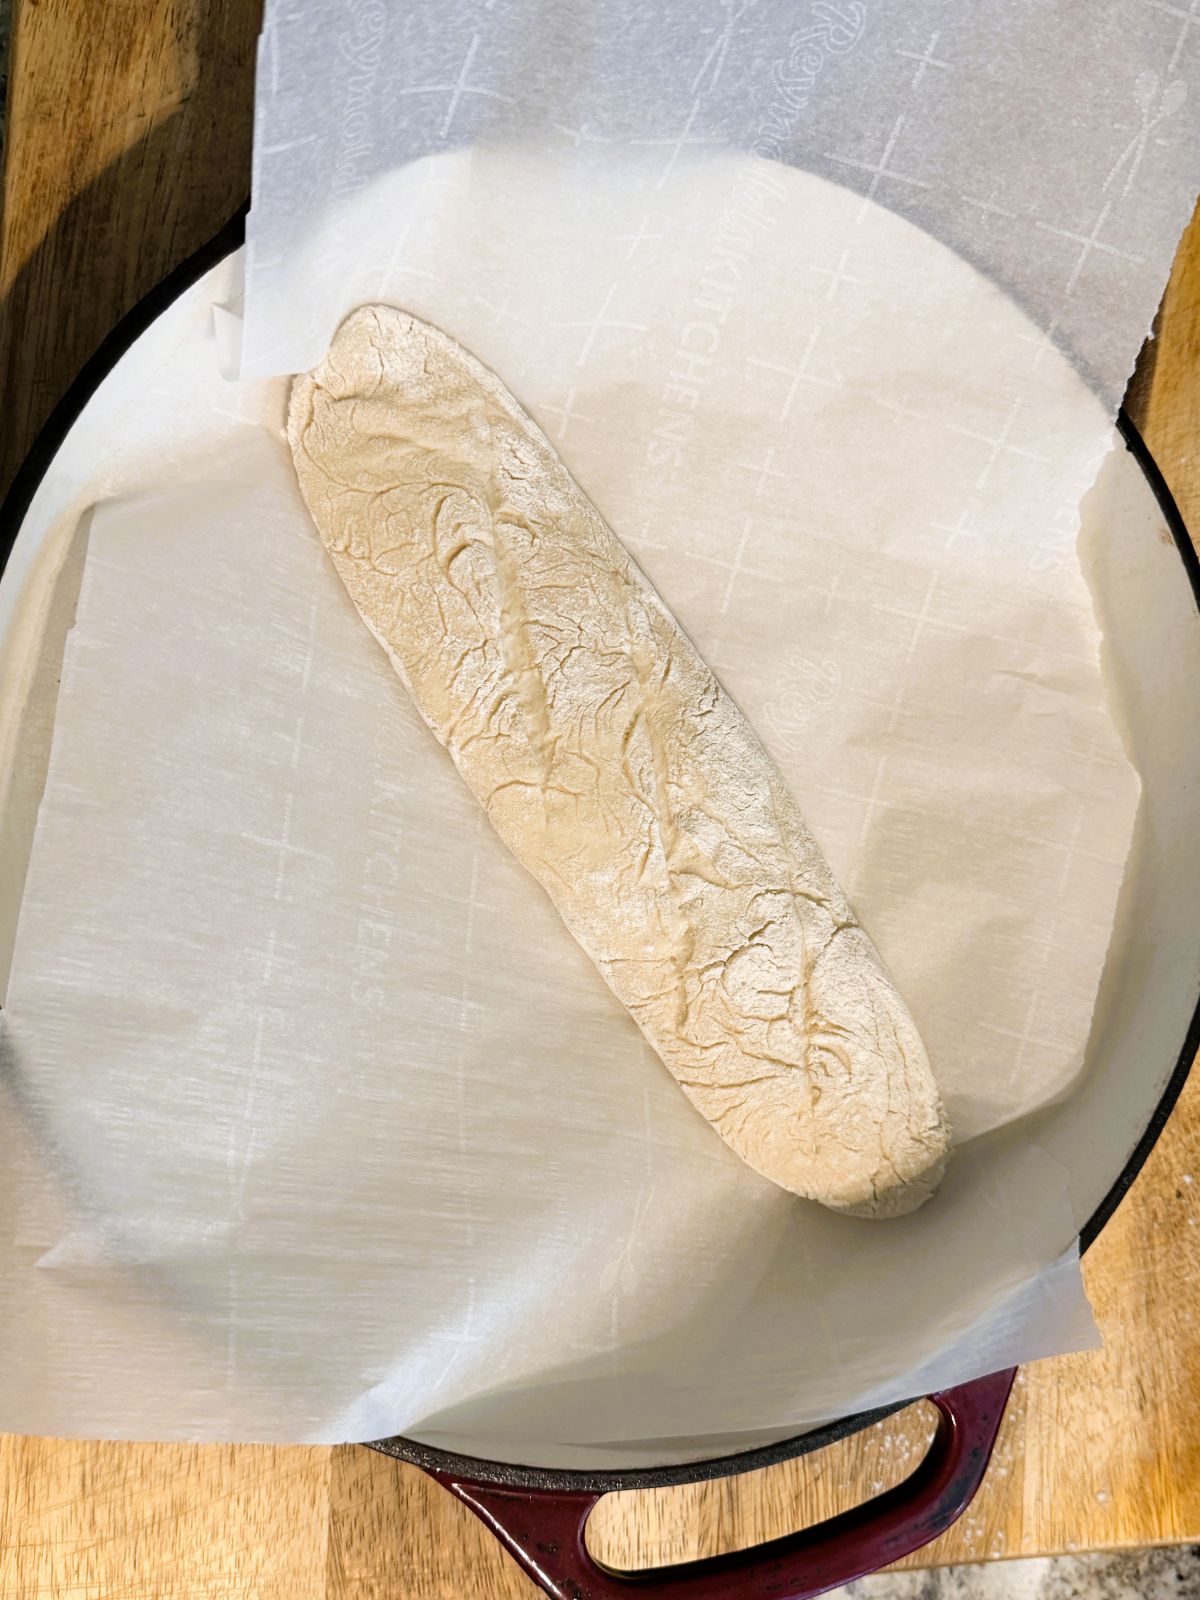
Score and Mist
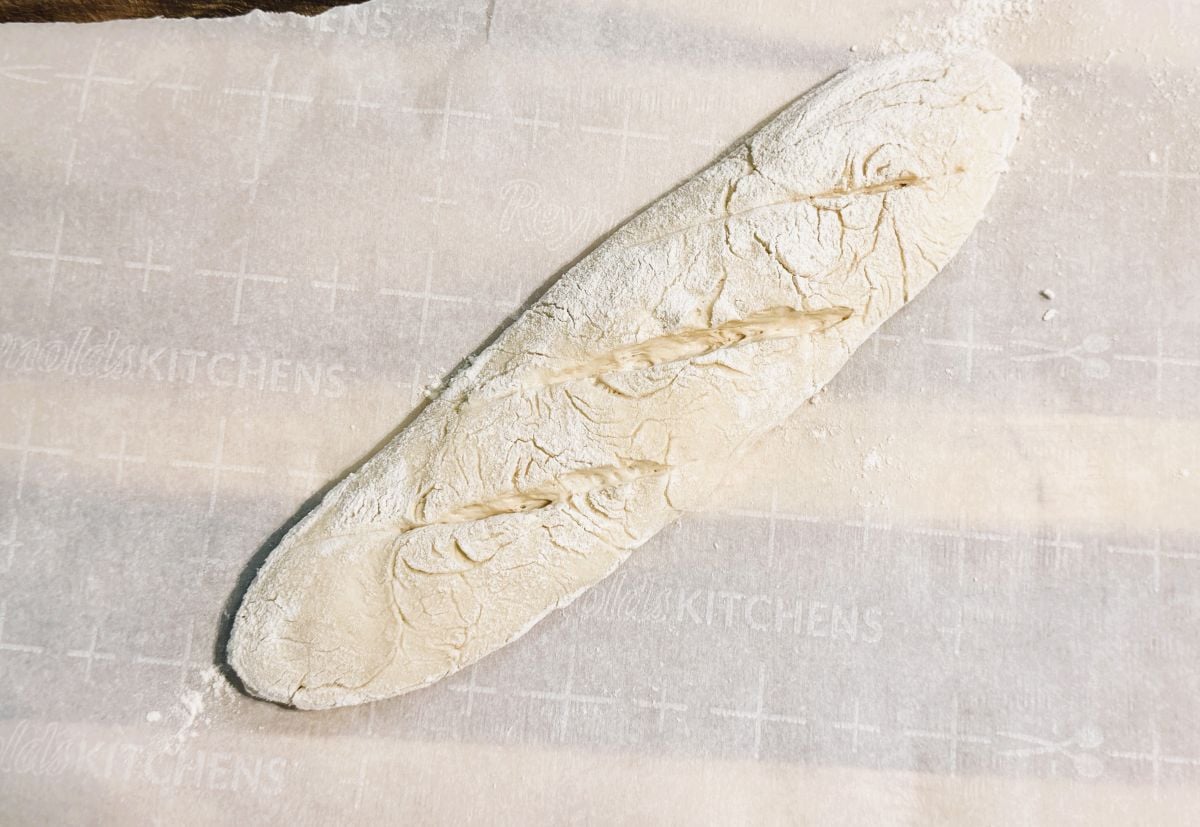
Roll the baguette onto parchment paper. Use a sharp knife or razor to make a few short slashes along the top.
Lightly mist the loaf with water-top and sides.
Bake
Carefully lower the baguette into the hot Dutch oven using the parchment paper.
Cover and bake, then uncover and continue baking until golden and crisp.
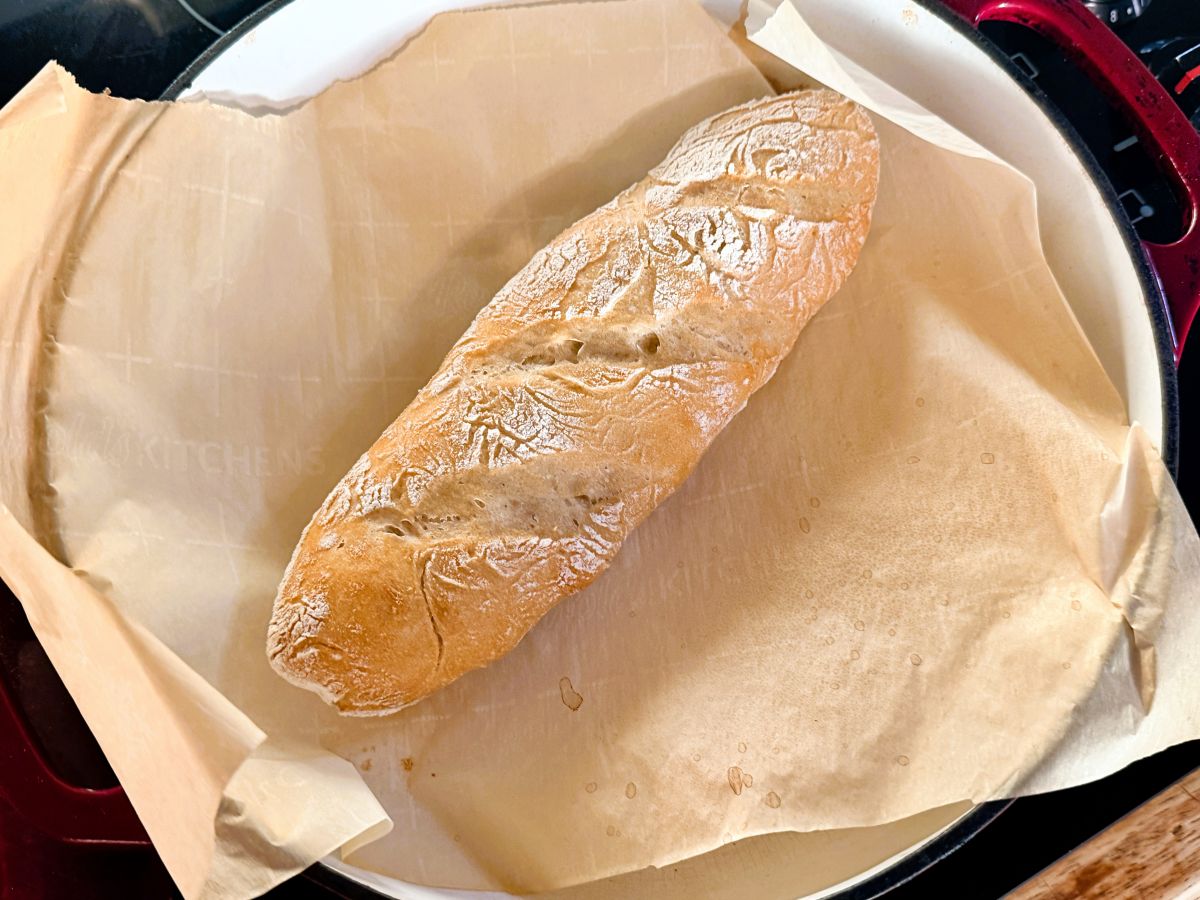
For extra color, finish the loaf directly on the oven rack for a minute or two.
Cool Before Slicing
Let the bread cool on a rack until just warm. Cutting too early can make the inside gummy, even if it's fully baked.
Troubleshooting
My dough feels very sticky.
That's normal. Use damp hands and light flour when shaping.
My dough didn't rise much.
Your kitchen may be cool, or the yeast may be old. Let it rise longer if needed.
My loaf spread instead of rising up.
The folds and towel support matter here-don't skip them.
My baguette is pale.
Bake uncovered a few minutes longer or finish directly on the rack.
The inside feels dense.
Most often, this means it was sliced too soon.
Baking Without a Dutch Oven
Covered Baking Dish or Roasting Pan
Bake on a sheet pan with an inverted pan over the top to trap steam.
Toaster Oven
Preheat well and add a small dish of hot water for steam.
Uncovered Sheet Pan
Works, but the crust will be thinner and lighter.
Steam helps, no matter the method.
Storage & Freezing
This baguette is best the day it's baked, but it keeps at room temperature for a couple of days. Avoid the fridge.
To freeze, wrap well and reheat directly from frozen in a hot oven until warmed through.
A Few Final Thoughts
If your baguette isn't bakery-perfect, you did it right.
Homemade bread is supposed to look homemade. Each loaf teaches you something, and every one tastes better than you expect. This is the kind of recipe that builds confidence-not pressure.
One loaf. One afternoon. And suddenly, you're making bread.
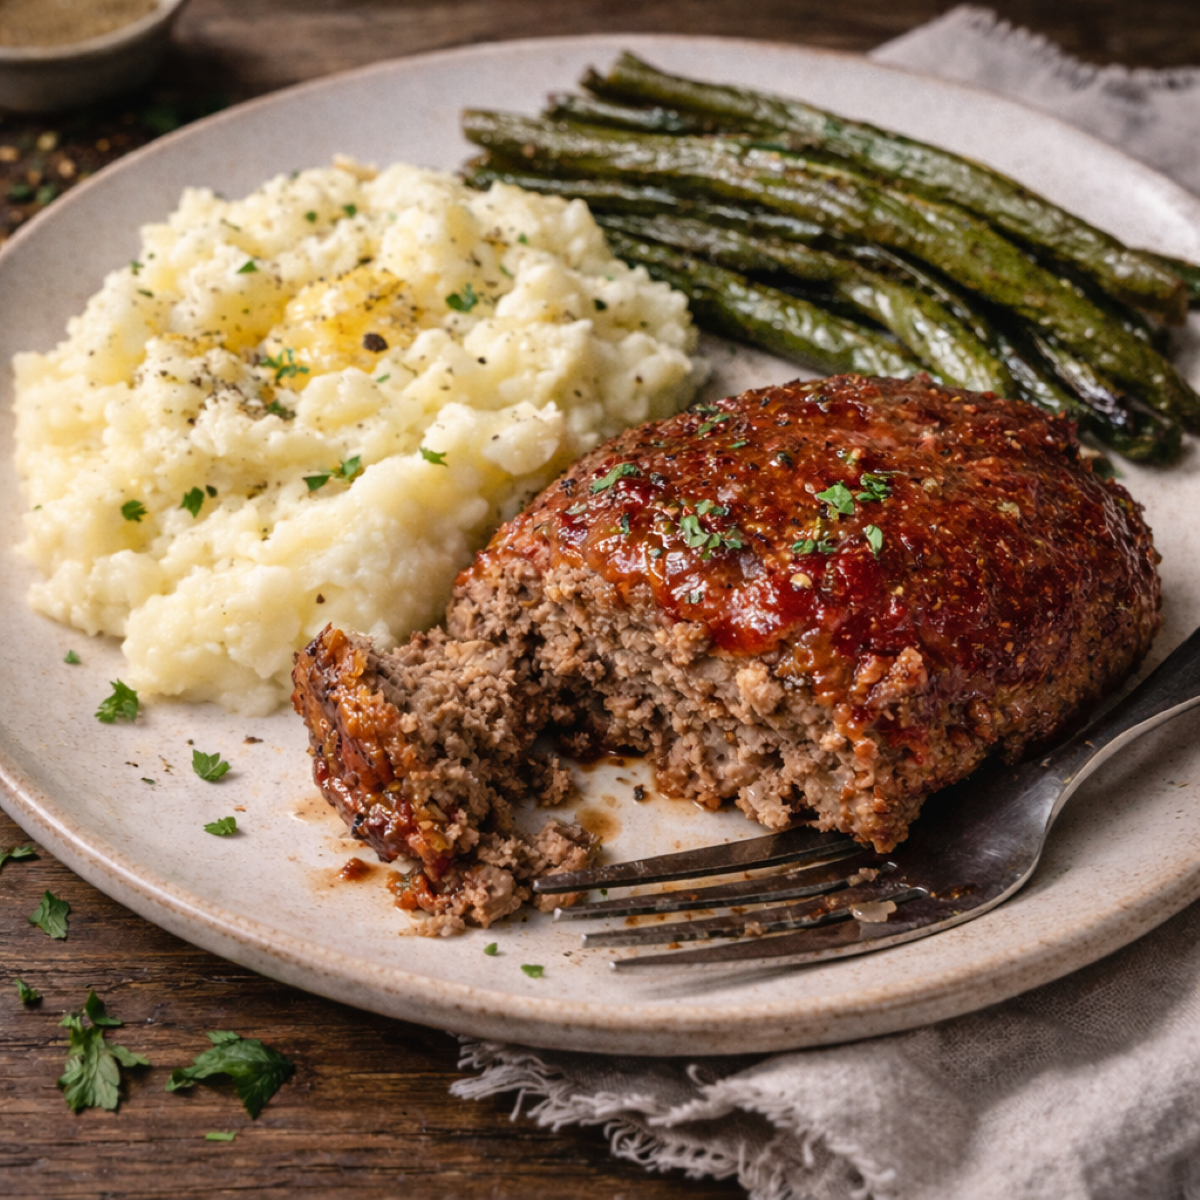
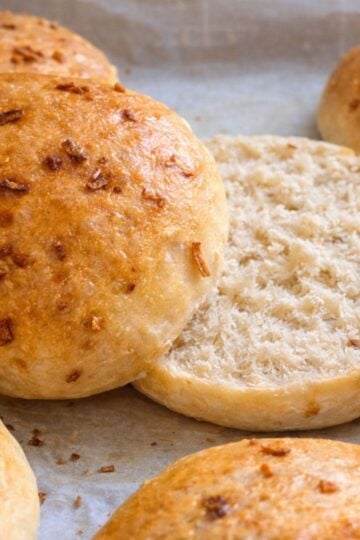
More Recipes For Two


DID YOU MAKE THIS RECIPE?
I'd love to know how it turned out! Leave a review or snap a quick photo and tag me on Facebook.
Every time you share one of my recipes, it helps me grow this blog-and I'm so grateful for your support.
As always, I will be back next week with more delicious recipes from my RV kitchen to yours!
This post may contain affiliate links. Read my full disclosure policy.
Learn how to get Amazon deliveries straight to your RV.
This post may contain affiliate links. Read my full disclosure policy.
Learn how to get Amazon deliveries straight to your RV.

Mini Baguette for Two (Beginner-Friendly Small Batch Bread)
Ingredients
- 120 grams bread flour 1 cup
- 4 grams kosher salt ¾ teaspoon
- 3 grams active dry yeast 1 teaspoon
- 95 grams warm water ⅓ cup + 1 tablespoon
Instructions
- Bloom the yeast- Add the warm water to a small bowl or measuring cup. Sprinkle the yeast over the top, stir briefly, and let it sit for 5-10 minutes until foamy or cloudy.
- Mix the dough- In a medium bowl, combine the bread flour and salt. Pour in the bloomed yeast mixture and stir until no dry flour remains. The dough will look sticky and shaggy-this is exactly what you want. Do not knead.
- First rest- Cover the bowl and let the dough rest at room temperature for 30 minutes.
- First set of folds- With damp hands, grab one edge of the dough, stretch it gently upward, and fold it over the center. Rotate the bowl a quarter turn and repeat until you've gone all the way around. Cover and rest 30 minutes.
- Second set of folds- Repeat the folding process once more. Cover and let the dough rise for 1 hour, until puffed and airy.
- Preheat the oven- Place a covered Dutch oven in the oven and preheat to 450°F (230°C) for at least 30 minutes.
- Shape the baguette- Lightly flour your counter. Dust the top of the dough in the bowl, then gently turn it out. Stretch into a rough rectangle. Fold the top third down and press lightly to seal. Rotate and repeat. Fold once more to form a short log, pinching the seam closed.Roll gently to even it out and taper the ends. Make sure the loaf will fit inside your baking vessel.
- Final rise- Place the shaped baguette seam-side down on a floured kitchen towel. Pull the towel up on both sides to support the shape. Cover and let rise for 30 minutes.
- Score and mist- Roll the baguette onto parchment paper. Score the top with one long slash or a few shorter ones. Lightly mist the loaf with water.
- Bake- Carefully transfer the baguette into the hot Dutch oven using the parchment paper. Cover and bake for 10 minutes. Remove the lid and bake another 10-15 minutes until golden and crisp.For extra color, remove the loaf from the Dutch oven and bake directly on the rack for 2-3 minutes.
- Cool- Transfer to a cooling rack and let cool until just warm before slicing.
Notes
| Calories | 330 |
| Carbohydrates | 66g |
| Protein | 12g |
| Fat | 2g |
| Fiber | 2g |
| Sodium | 580mg |


Leave a Reply