
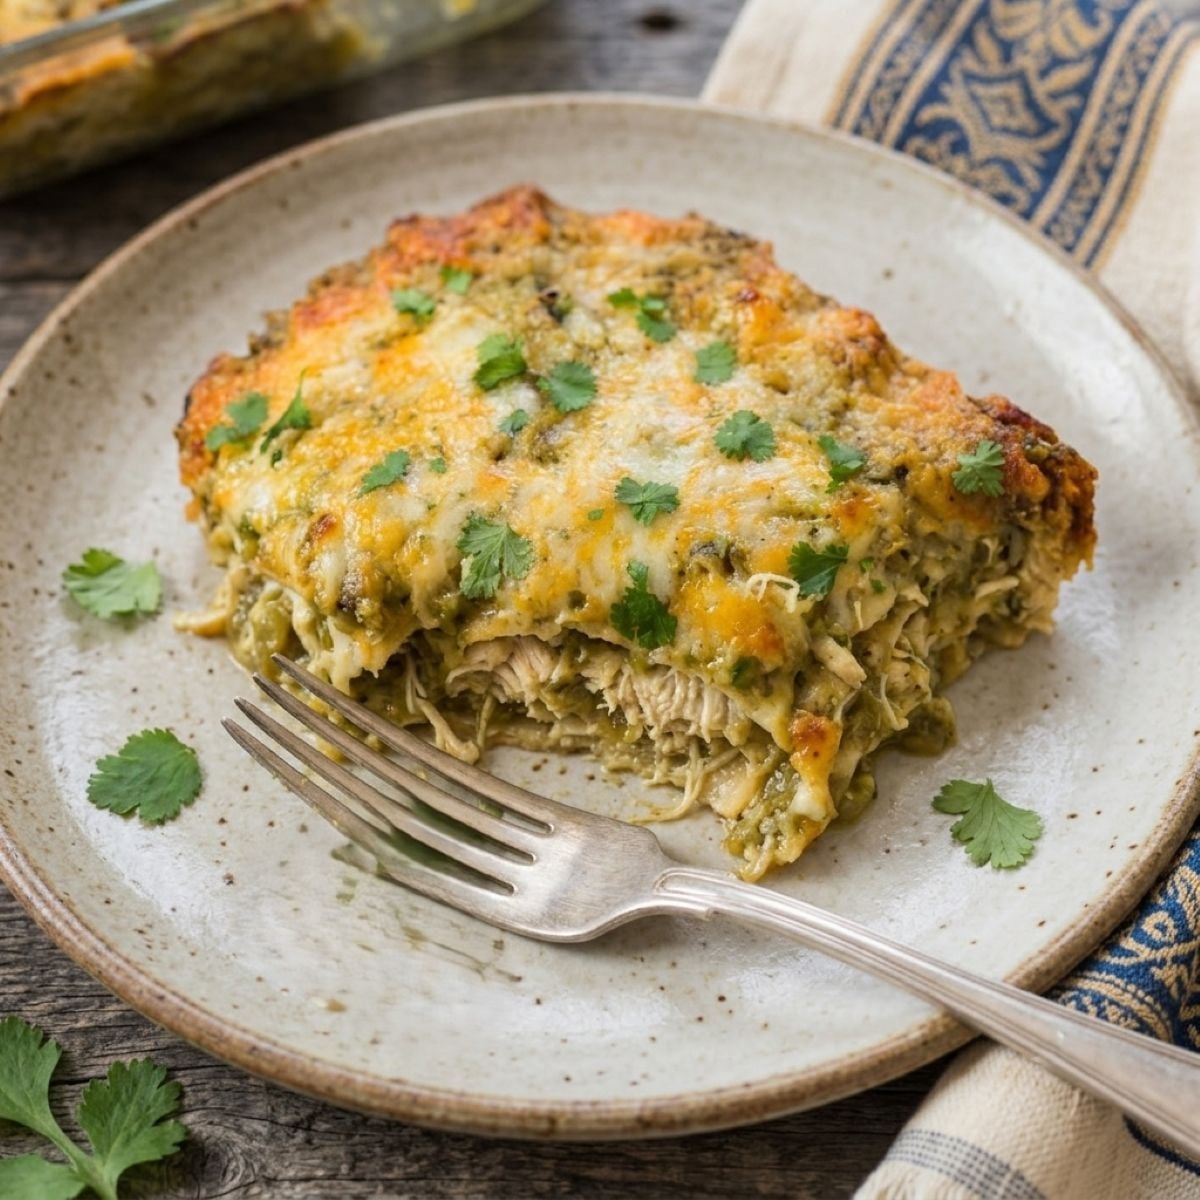
This Green Chile Enchilada Casserole is everything you love about creamy green enchiladas without the extra work of rolling tortillas. Layers of corn tortillas, tender pulled pork or shredded chicken, homemade roasted salsa verde, Hatch green chiles, sour cream, and plenty of melted Colby Jack cheese bake into a rich, bubbly casserole that's easy enough for a weeknight but just as welcome when you're feeding family and friends. Every bite is creamy, cheesy, and packed with roasted green chile flavor.
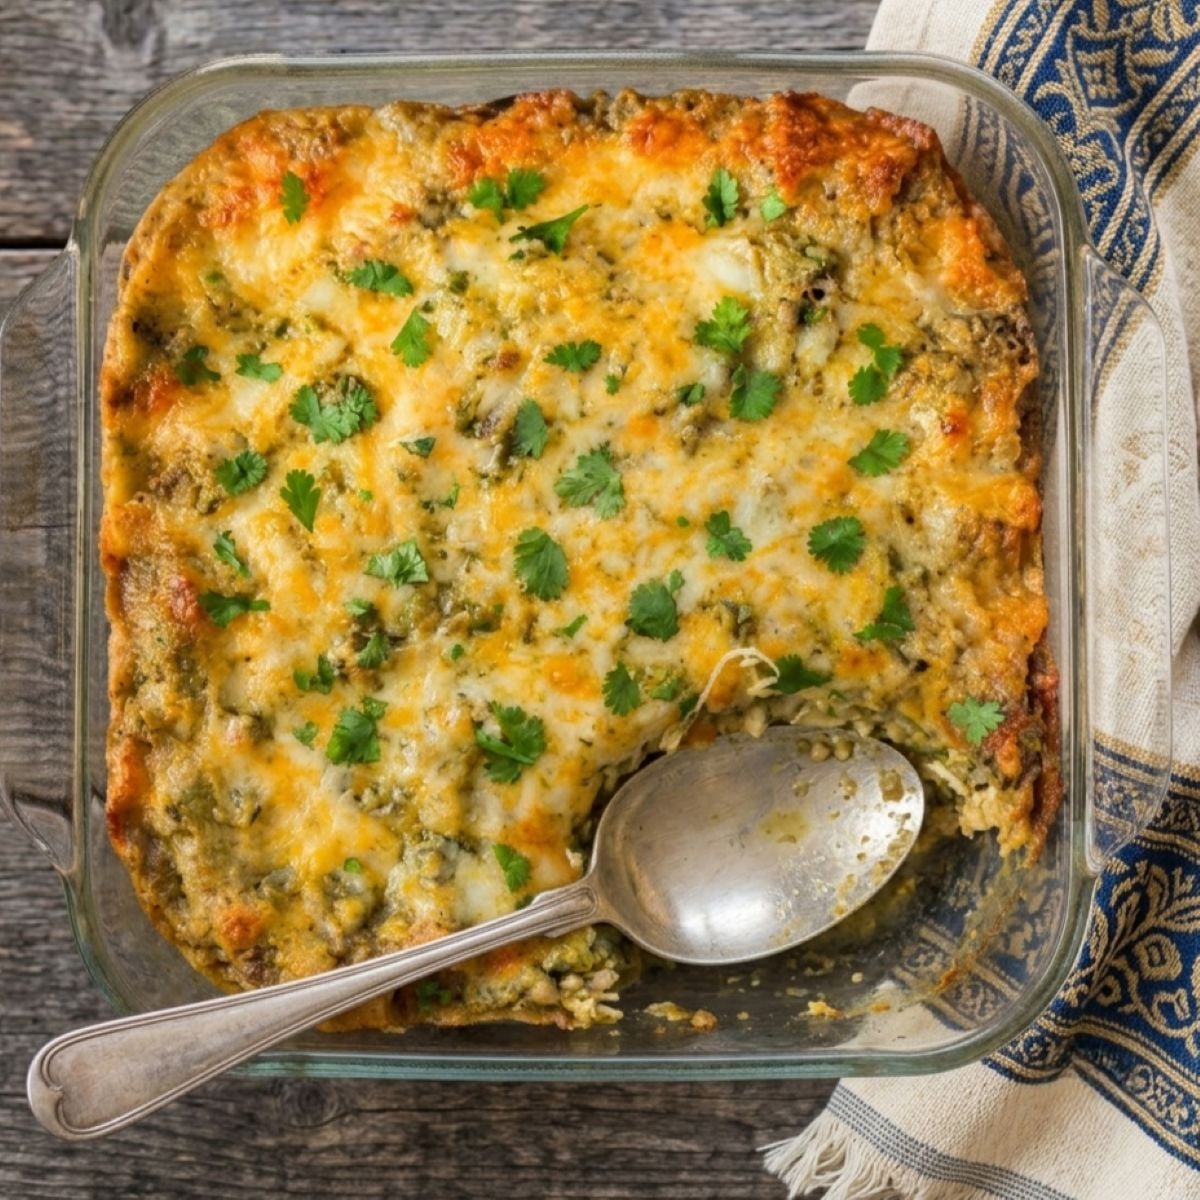
Recipe Overview
If you love green chile enchiladas but don't love spending time rolling them one at a time, this casserole is for you. Instead of individual enchiladas, everything is layered in a baking dish for the same creamy, cheesy flavors with much less work.
- Flavor: Creamy, cheesy, and loaded with roasted green chile flavor.
- Method: Layered casserole using corn tortillas instead of rolled enchiladas.
- Servings: Makes about 6 generous servings.
- My Testing Note: I tested this recipe with leftover smoked pulled pork, but rotisserie chicken works just as well. Let the casserole rest for about 10 minutes before serving so the layers hold together.
A Note From My Kitchen
This recipe actually started because I had leftover smoked pulled pork in the refrigerator.
I originally planned to make green chile chicken enchiladas, but the pulled pork was already cooked and needed to be used. After one bite, I realized it worked just as well as chicken. The smoky pork paired perfectly with the roasted salsa verde and creamy Hatch green chiles.
That's one of my favorite things about recipes like this. They're flexible enough to work with whatever you already have on hand. If you've got leftover pulled pork, use it. If you picked up a rotisserie chicken at the grocery store, that works beautifully too.
I also decided to skip the traditional rolled enchiladas and layer everything instead. It's faster, easier, and every bite still has plenty of tortillas, creamy sauce, and melted cheese.
The homemade roasted salsa verde really makes this casserole special. It only takes a few extra minutes to prepare, and the fresh roasted tomatillos add so much flavor. If you're short on time, you can absolutely use your favorite jarred salsa verde instead, but if you have the time, I think it's worth making your own.
~ Holly ❤️
What Is Green Chile Chicken Enchilada Casserole?
Green chile chicken enchilada casserole is a baked Tex-Mex-inspired dish that combines the flavors of green chile enchiladas in an easy-to-assemble casserole. Instead of filling and rolling individual tortillas, the ingredients are layered with tortillas, a creamy green chile sauce, and plenty of cheese before baking until hot and bubbly.
Traditional versions are often made with canned green enchilada sauce, but this recipe starts with homemade roasted salsa verde for a fresher, brighter flavor. The addition of Hatch green chiles and sour cream creates a rich, creamy sauce that coats every layer without overpowering the roasted tomatillos.
One of the best things about this casserole is how adaptable it is. It works just as well with shredded chicken as it does with leftover pulled pork, making it a great way to turn leftovers into a completely different meal.
Let's Gather Up the Ingredients for Green Chile Enchilada Casserole
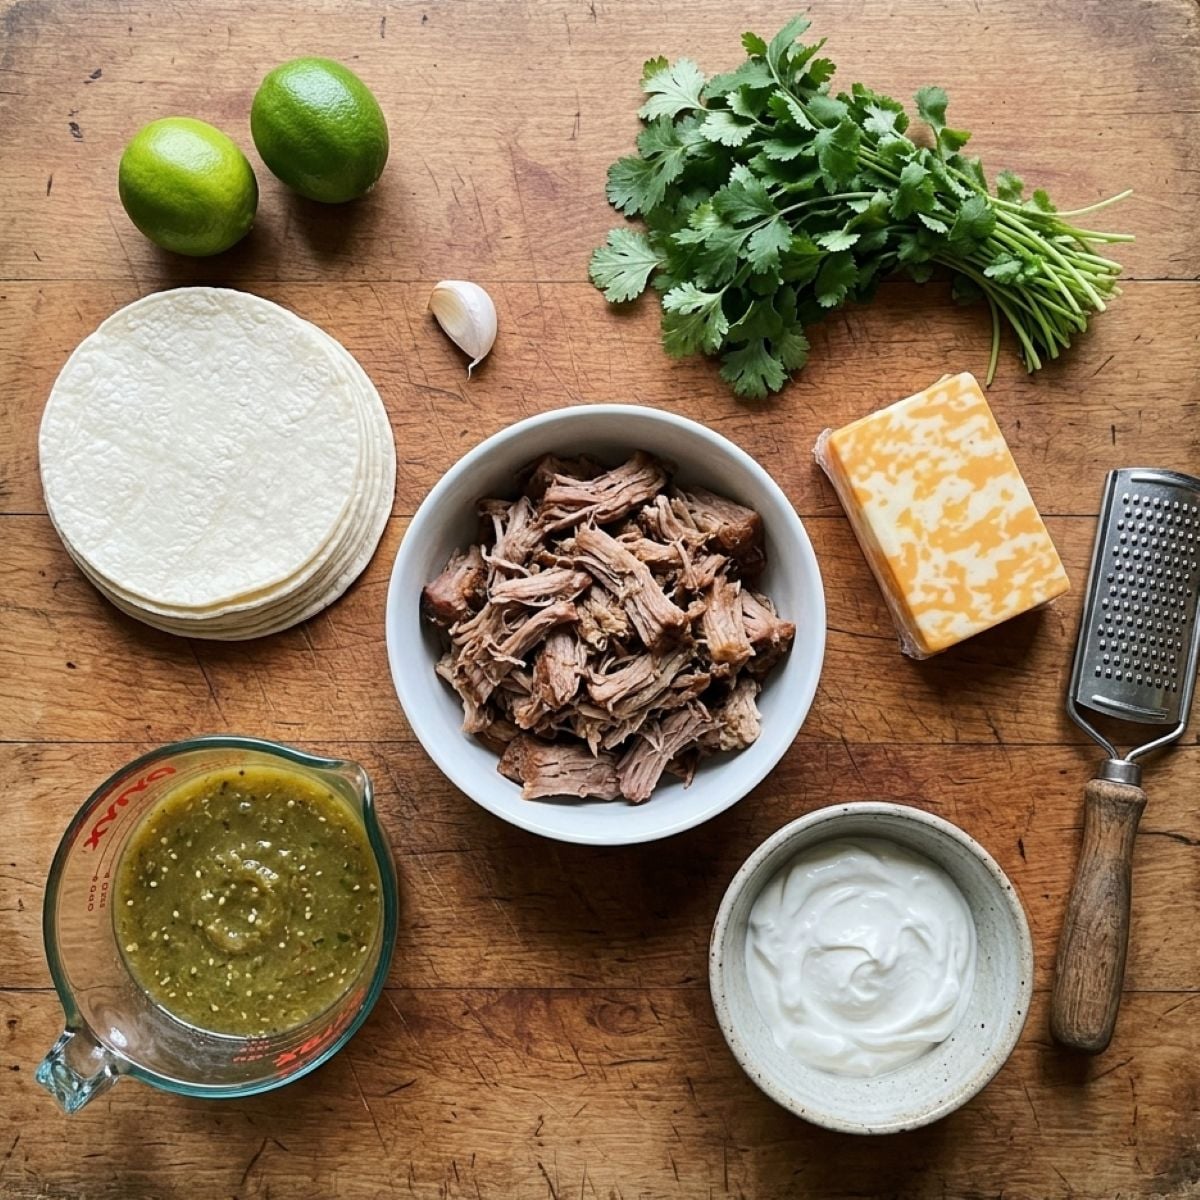
Homemade or Store-Bought?
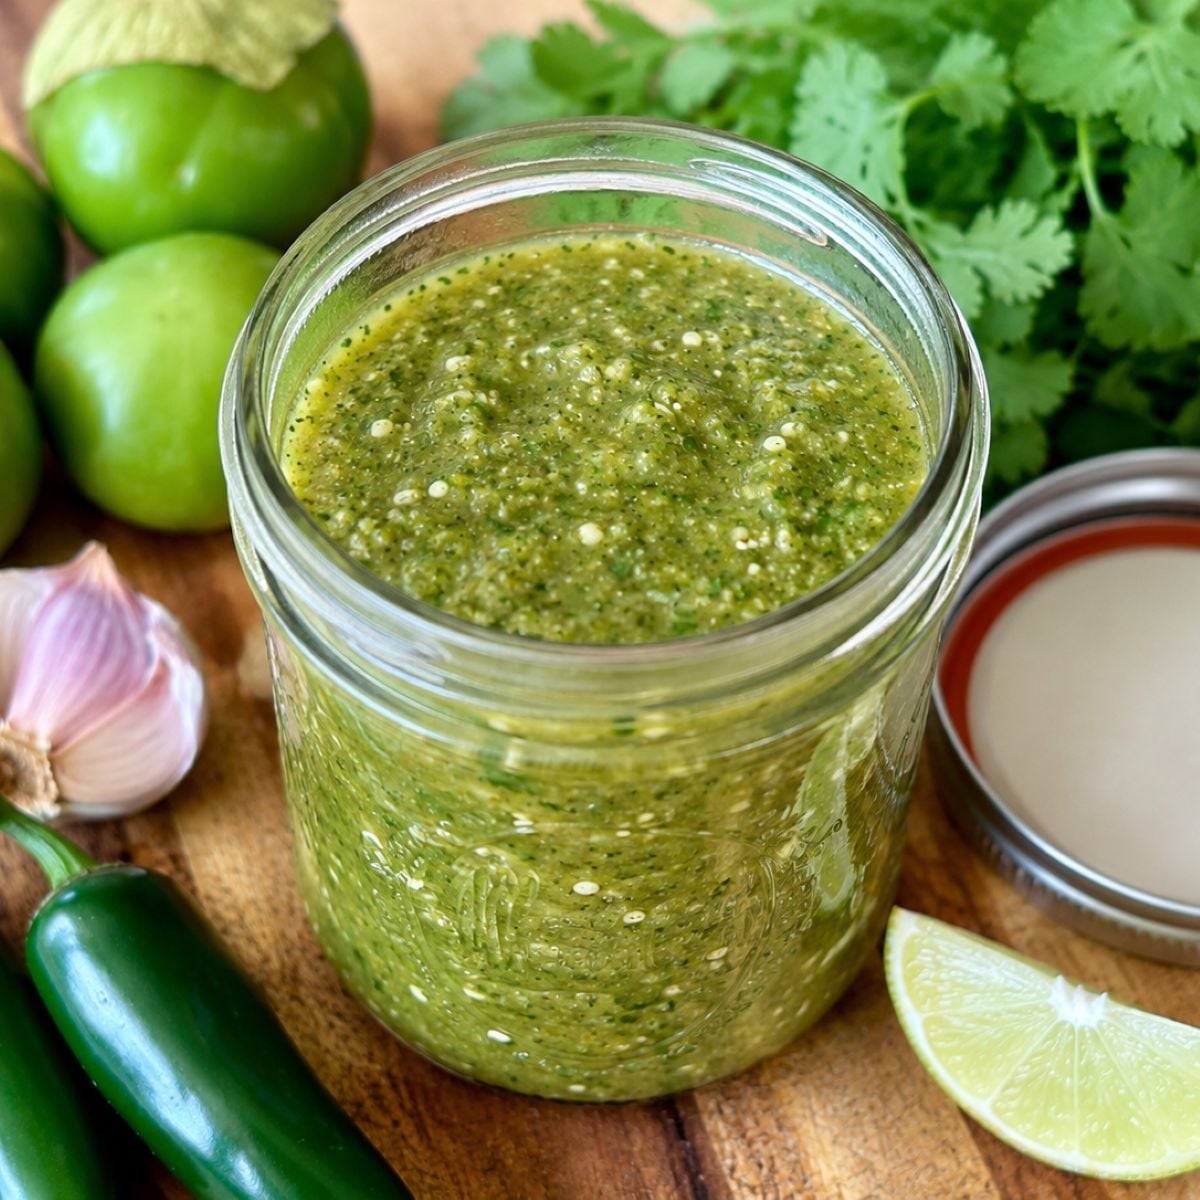
This casserole is delicious with either homemade or store-bought salsa verde. If you have a few extra minutes, I recommend making my Roasted Salsa Verde for the freshest flavor. If not, your favorite jarred salsa verde works just fine.
You'll need:
- Cooked shredded chicken or pulled pork - I tested this recipe with leftover smoked pulled pork, but shredded rotisserie chicken works just as well. It's a great way to give leftovers a completely new life.
- Roasted salsa verde - Homemade roasted salsa verde gives this casserole its fresh, tangy flavor. I use my homemade recipe, but your favorite jarred salsa verde works perfectly when you're short on time.
- Hatch diced green chiles - Fresh roasted Hatch green chiles are my first choice when they're in season. Roast, peel, and chop them yourself for the best flavor. When Hatch season is over, a 4-ounce can of diced Hatch green chiles is a convenient substitute that still makes a delicious casserole.
- Sour cream - Balances the brightness of the salsa verde and creates the creamy sauce that holds all the layers together.
- Red onion - Adds a little sweetness and depth of flavor after it's sautéed. Yellow onion can be substituted if needed.
- Garlic - Fresh garlic gives the sauce another layer of savory flavor.
- Corn tortillas - Soften as they bake to create tender layers throughout the casserole. Flour tortillas will work, but corn tortillas give the casserole a more traditional flavor and texture.
- Colby Jack cheese - Melts beautifully and adds a mild, creamy flavor. Monterey Jack, cheddar, Oaxaca, or a Mexican cheese blend are all great alternatives.
- Fresh cilantro - Adds a pop of freshness just before serving.
- Olive oil - Used to sauté the onion before building the creamy green chile sauce.
How to Make Green Chile Chicken Enchilada Casserole
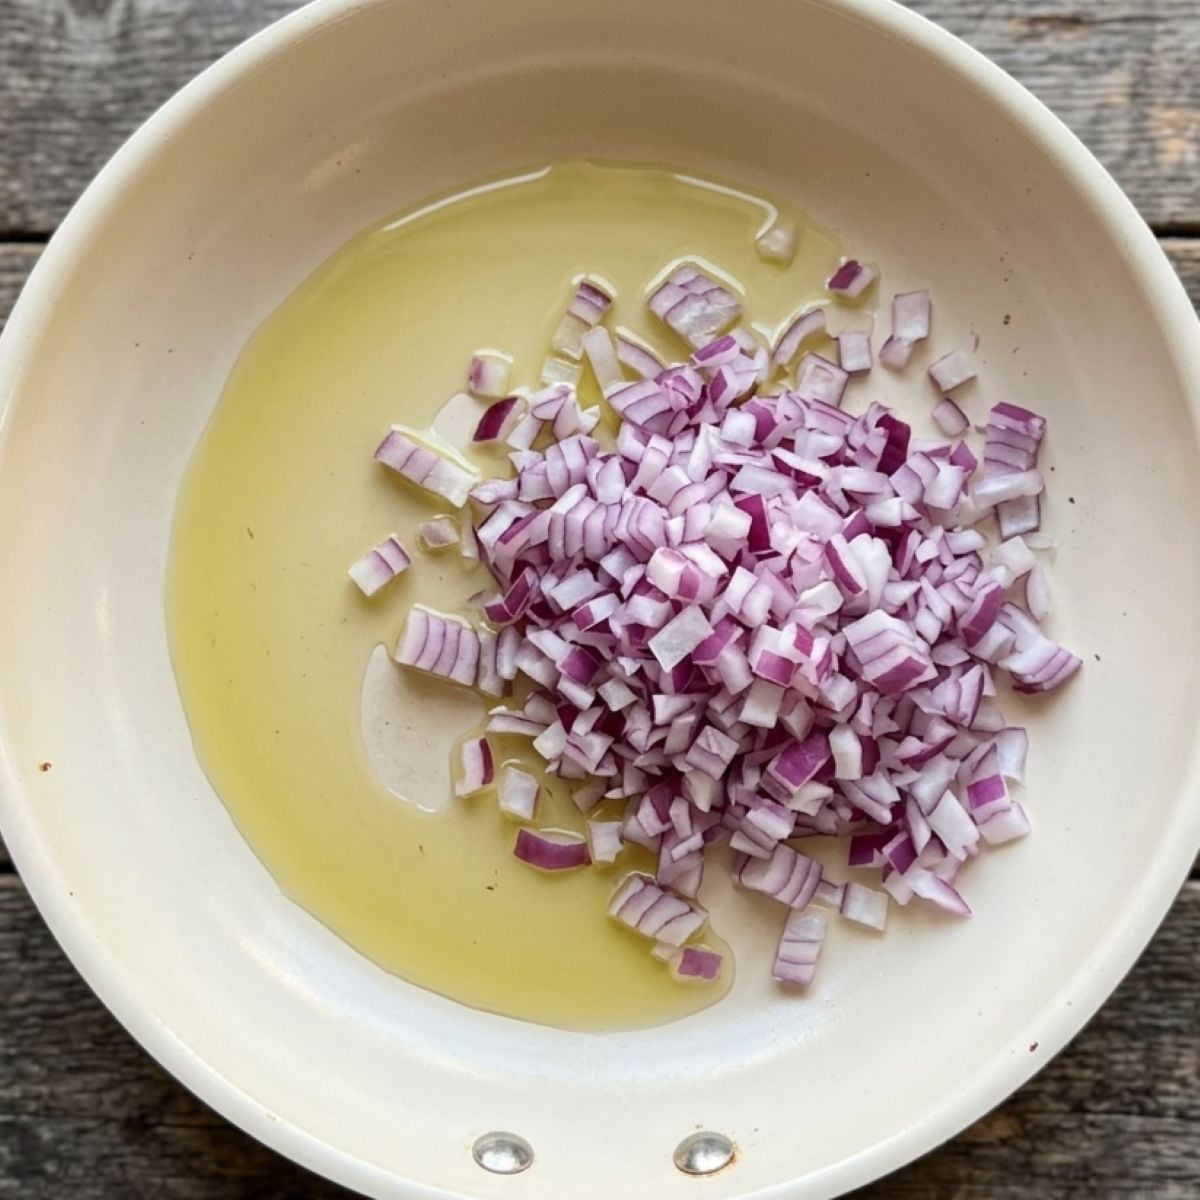
Sauté the onion.
Cook the diced red onion in olive oil over medium heat until it softens and turns translucent, about 4 to 5 minutes. Stir in the garlic and let it cook just until fragrant, maybe 30 seconds - any longer and it starts to burn.
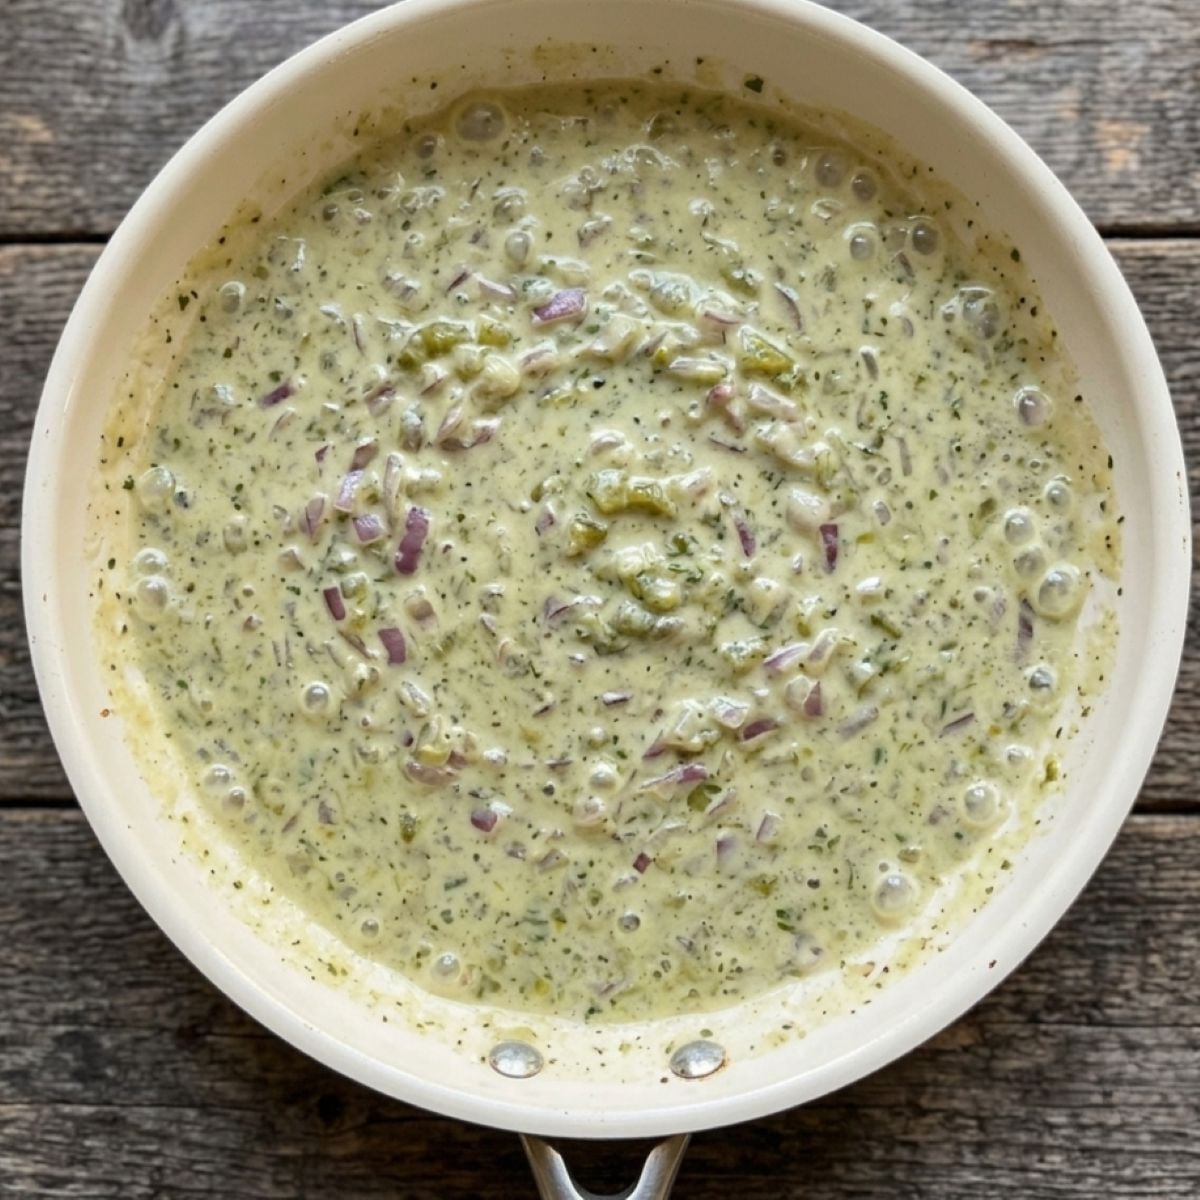
Make the creamy green chile sauce.
Turn the heat down low and stir in the salsa verde, sour cream, and Hatch green chiles. Keep stirring until it's smooth, then let it simmer for a few minutes so the flavors come together. Taste it before you move on - every batch of salsa verde is a little different, so this is your chance to adjust the salt and pepper.
Start the first layer.
Spread a thin layer of the sauce over the bottom of your baking dish, then cover it with torn corn tortillas, overlapping them until the bottom is covered. Don't worry about making it look neat - once it bakes, no one can tell where one tortilla ends and the next begins.
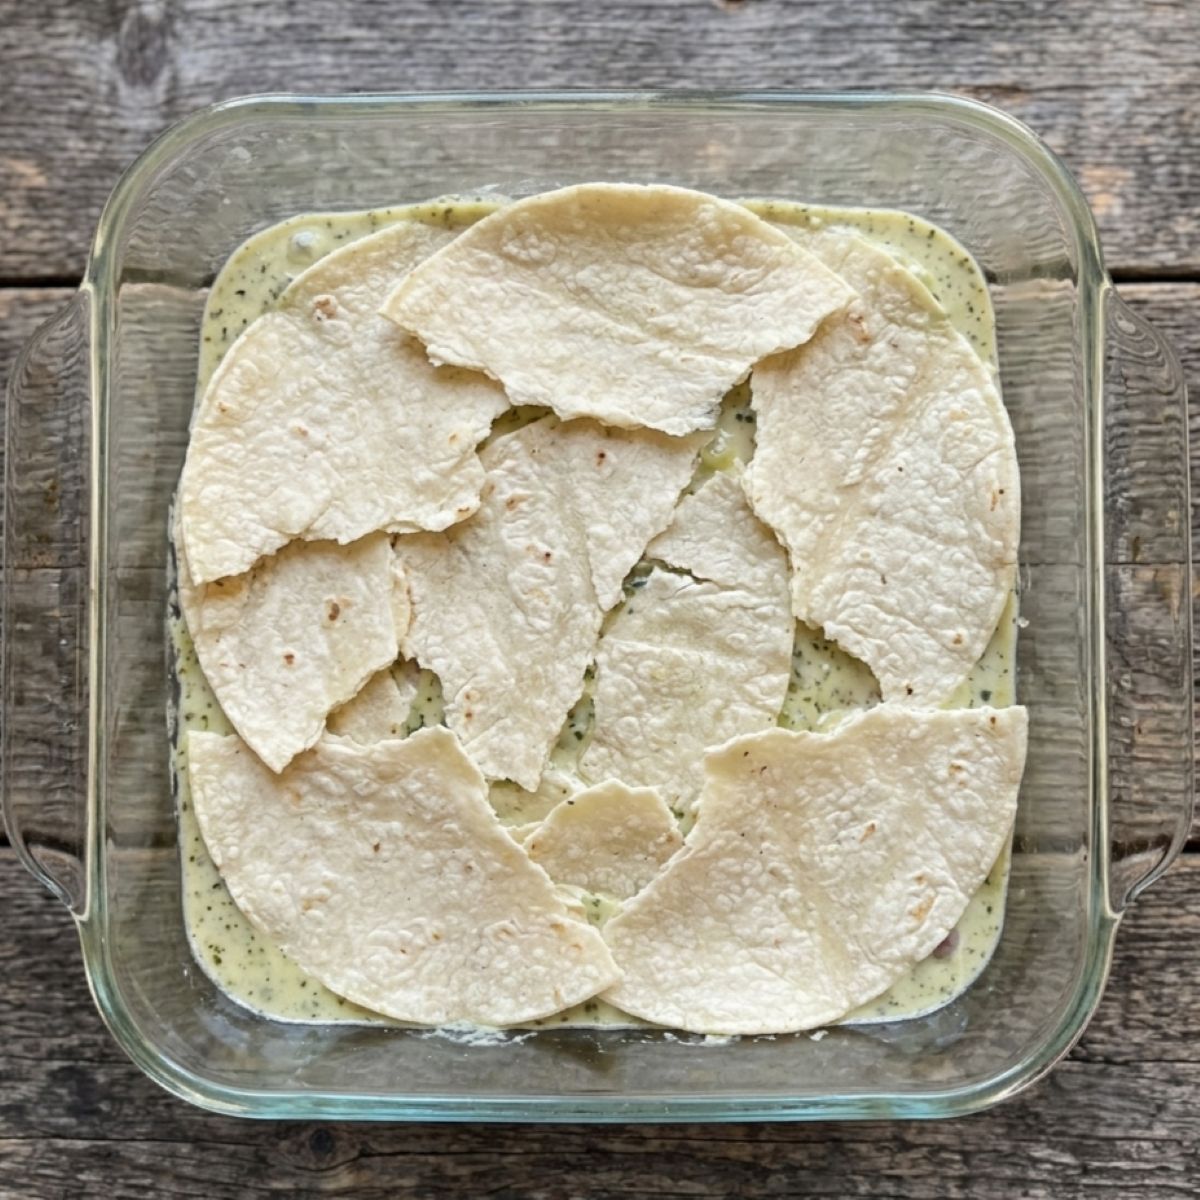
Add the filling.
Layer on the shredded chicken or pulled pork, then spoon over some more of the sauce.
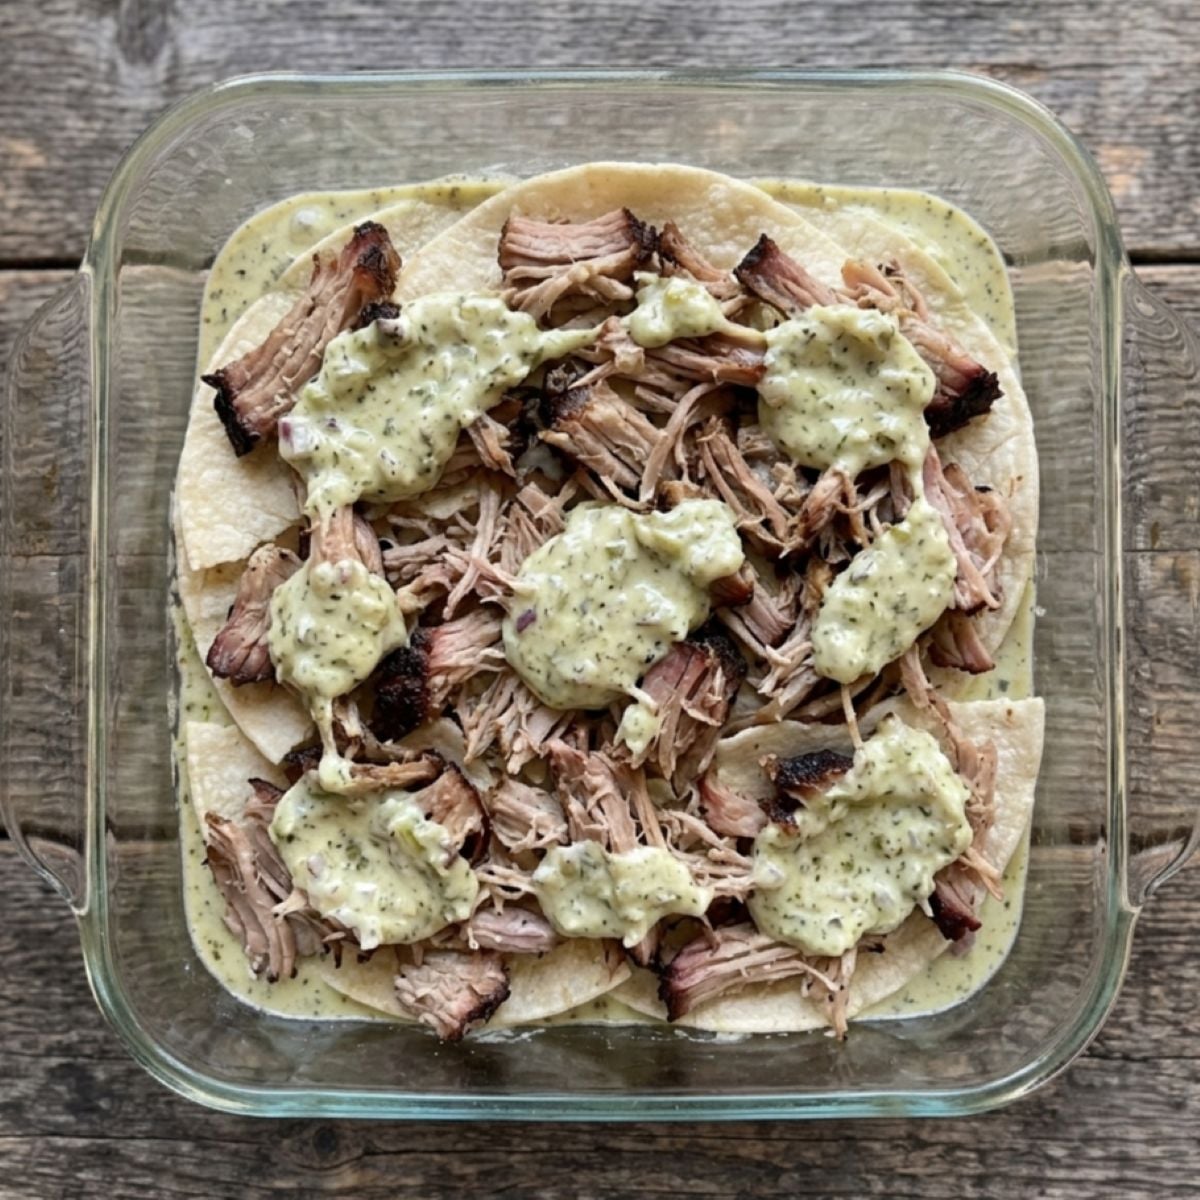
Sprinkle on the cheese.
Scatter the cheese over the sauce, leaving a few little pockets of filling peeking through.
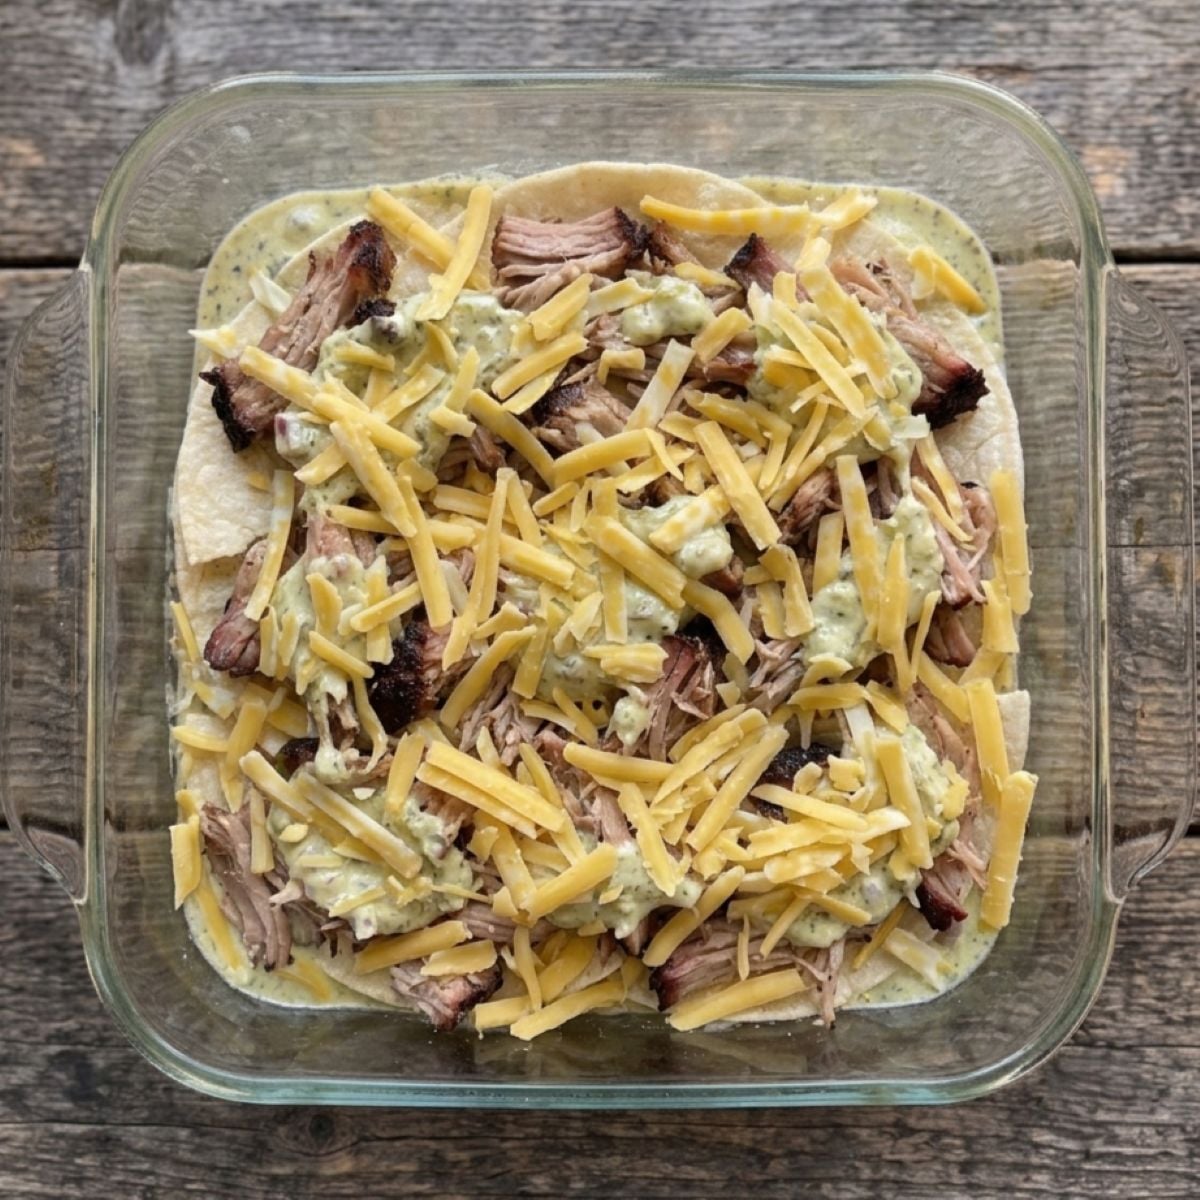
Finish the layers.
Repeat the whole process one more time - tortillas, meat, sauce, cheese - then cover the dish tightly with foil.
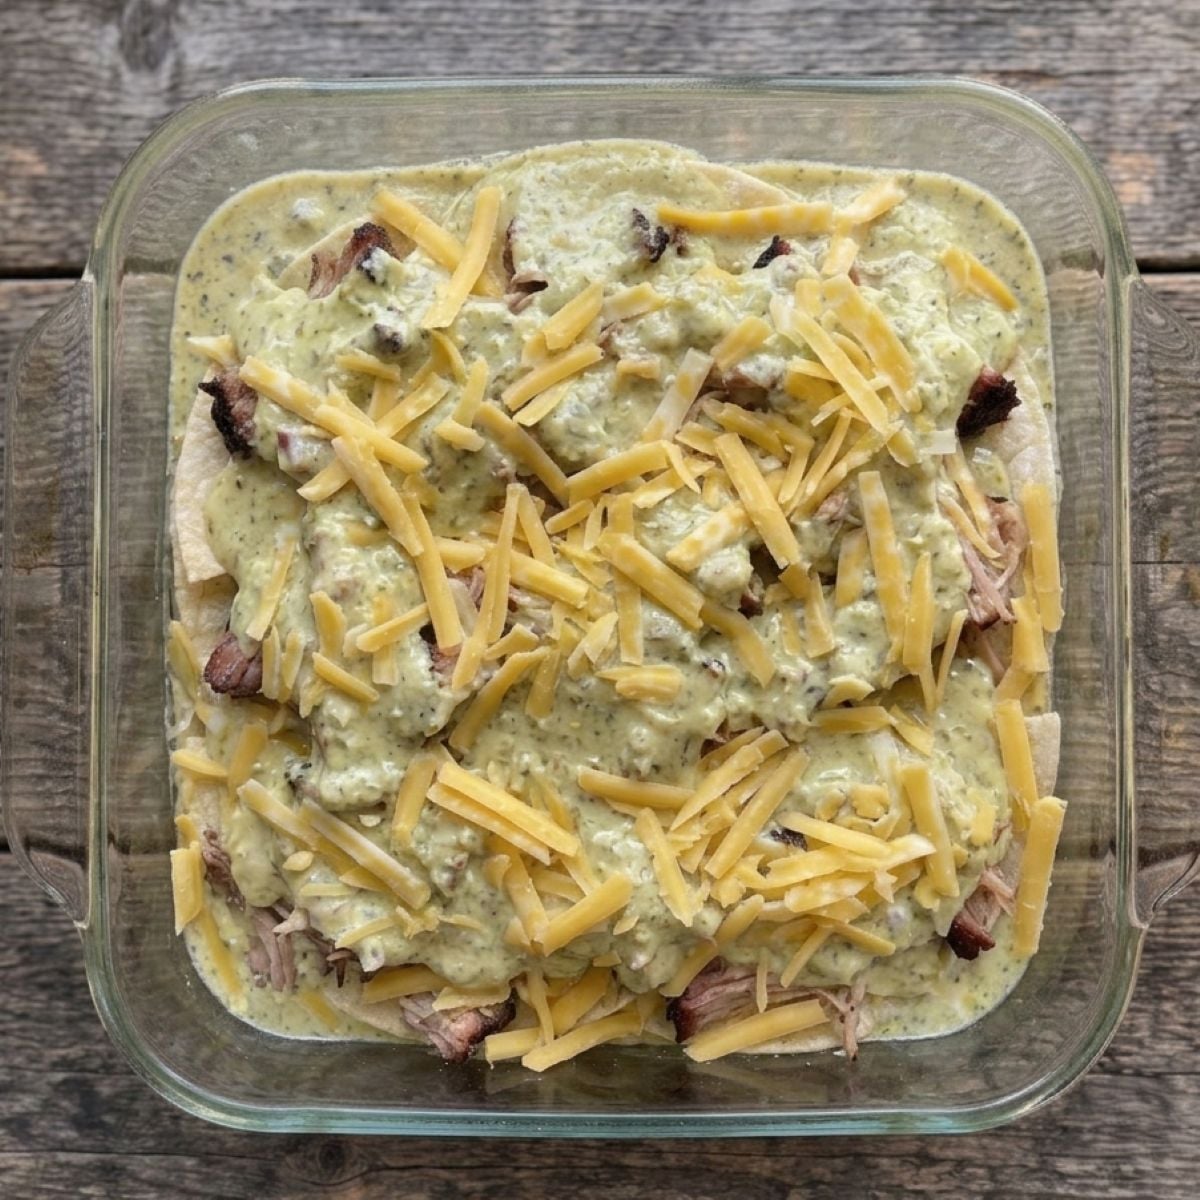
Bake until hot and bubbly.
Bake covered first so the tortillas stay tender and everything heats through, then uncover it near the end so the cheese has time to melt and turn golden around the edges.
Let it rest for about 10 minutes before you cut into it. It's tempting to skip this part, but it's what keeps the layers from sliding apart when you serve it. Finish with a scatter of fresh cilantro.
Tips for Success
- Let the casserole rest before serving. It may be tempting to dig in right away, but letting it rest for about 10 minutes helps the layers set so you can slice and serve it more easily.
- Use freshly shredded cheese if possible. It melts more smoothly than pre-shredded cheese, which contains anti-caking agents that can make the sauce slightly grainy.
- Don't worry about perfect tortilla layers. Tear the tortillas into large pieces and overlap them as needed. Once baked, no one will know where one tortilla ends and the next begins.
- Taste your salsa verde before making the sauce. Every batch is a little different. If it's especially tangy, an extra spoonful of sour cream helps mellow the flavor.
- Cover the casserole for the first part of baking. This keeps the tortillas tender while allowing the filling to heat through. Removing the foil at the end gives the cheese time to become bubbly and lightly golden.
Variations
- Make it with pulled pork. Leftover smoked pulled pork adds a subtle smoky flavor that pairs beautifully with the roasted salsa verde.
- Use shredded chicken. Rotisserie chicken is a great shortcut and makes this casserole easy enough for a weeknight dinner.
- Turn up the heat. Use hot Hatch green chiles, leave the seeds in your roasted peppers when making the salsa verde, or add a diced jalapeño to the sauce.
- Try a different cheese. Monterey Jack, Oaxaca, Chihuahua, or a Mexican cheese blend all melt beautifully in this casserole.
- Use store-bought salsa verde. If you're short on time, a good-quality 16-ounce jar of salsa verde works well in place of homemade.
Frequently Asked Questions
Yes! You can assemble the casserole up to 24 hours in advance. Cover it tightly and refrigerate until you're ready to bake. If baking straight from the refrigerator, you may need to add 5 to 10 minutes to the covered baking time.
Absolutely. Assemble the casserole, wrap it tightly with plastic wrap and aluminum foil, and freeze for up to 3 months. Thaw overnight in the refrigerator before baking, or bake from frozen, adding additional cooking time as needed.
Yes. Corn tortillas provide a more traditional enchilada flavor and texture, but flour tortillas work well if that's what you have on hand. The finished casserole will be slightly softer.
A good-quality 16-ounce jar of salsa verde is an excellent shortcut. If you have the time, I recommend making my Roasted Salsa Verde because the fresh roasted tomatillos add incredible flavor.
As written, it's mildly spicy. Most of the heat comes from the Hatch green chiles and your salsa verde. To make it milder, use mild Hatch chiles and a mild salsa verde. For more heat, choose hot Hatch chiles or stir a diced jalapeño into the sauce.
Colby Jack is my favorite because it melts beautifully and has a mild flavor, but Monterey Jack, Oaxaca, Chihuahua, or a Mexican cheese blend are all excellent choices.
What to Serve with Green Chile Chicken Enchilada Casserole
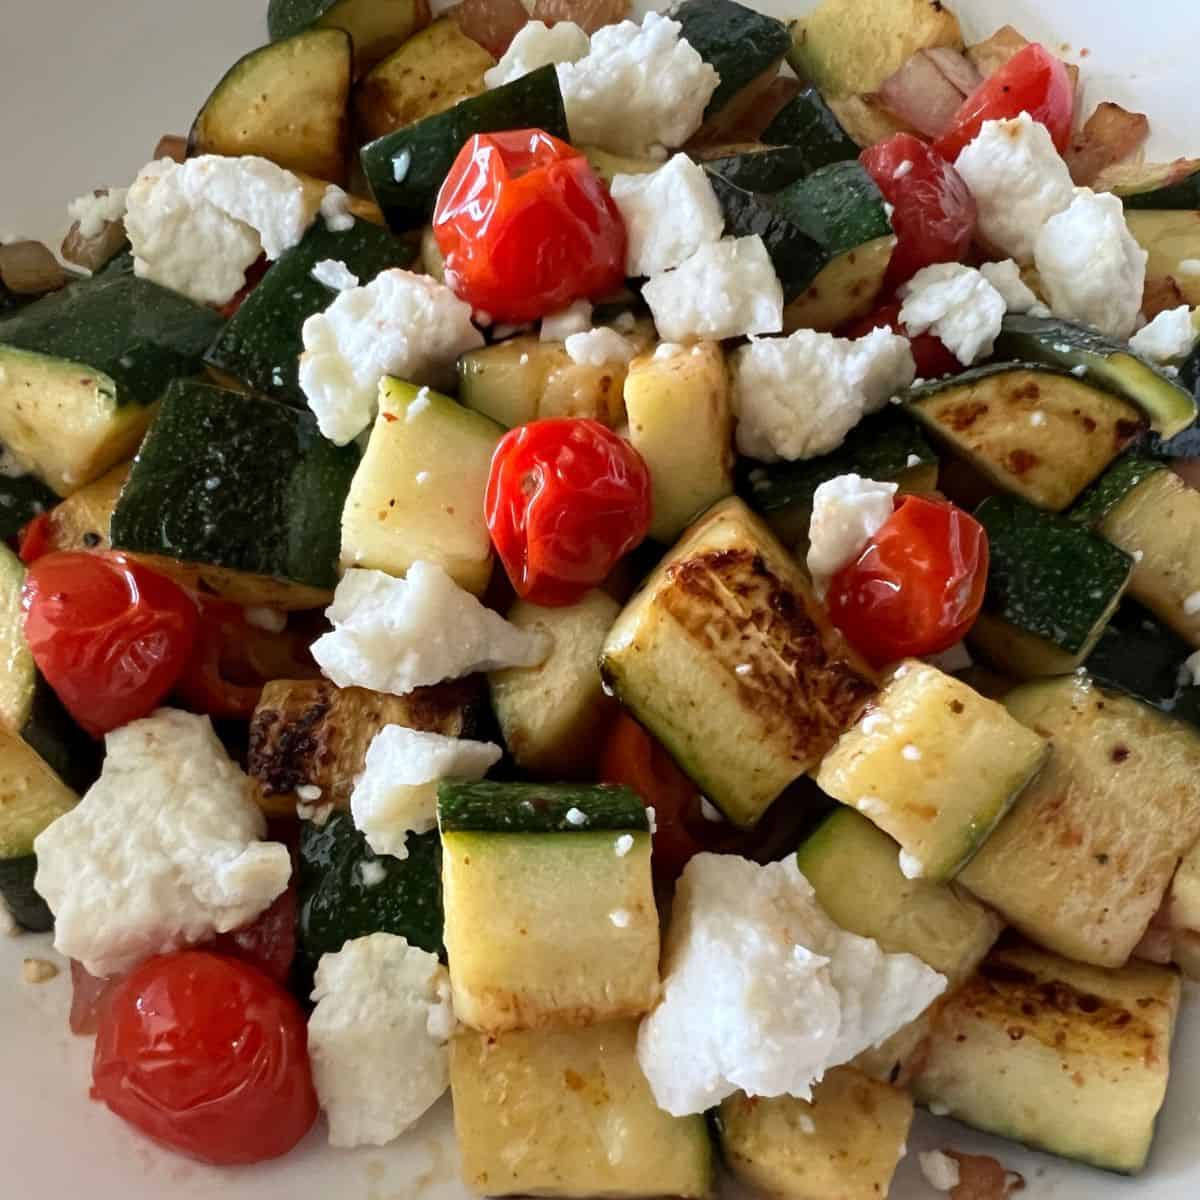
This casserole is hearty enough to be a meal on its own, but a few simple sides can round out dinner.
- Mexican rice adds a classic side that's perfect for soaking up the extra green chile sauce.
- Refried or charro beans make the meal even more filling and pair well with the creamy enchilada casserole.
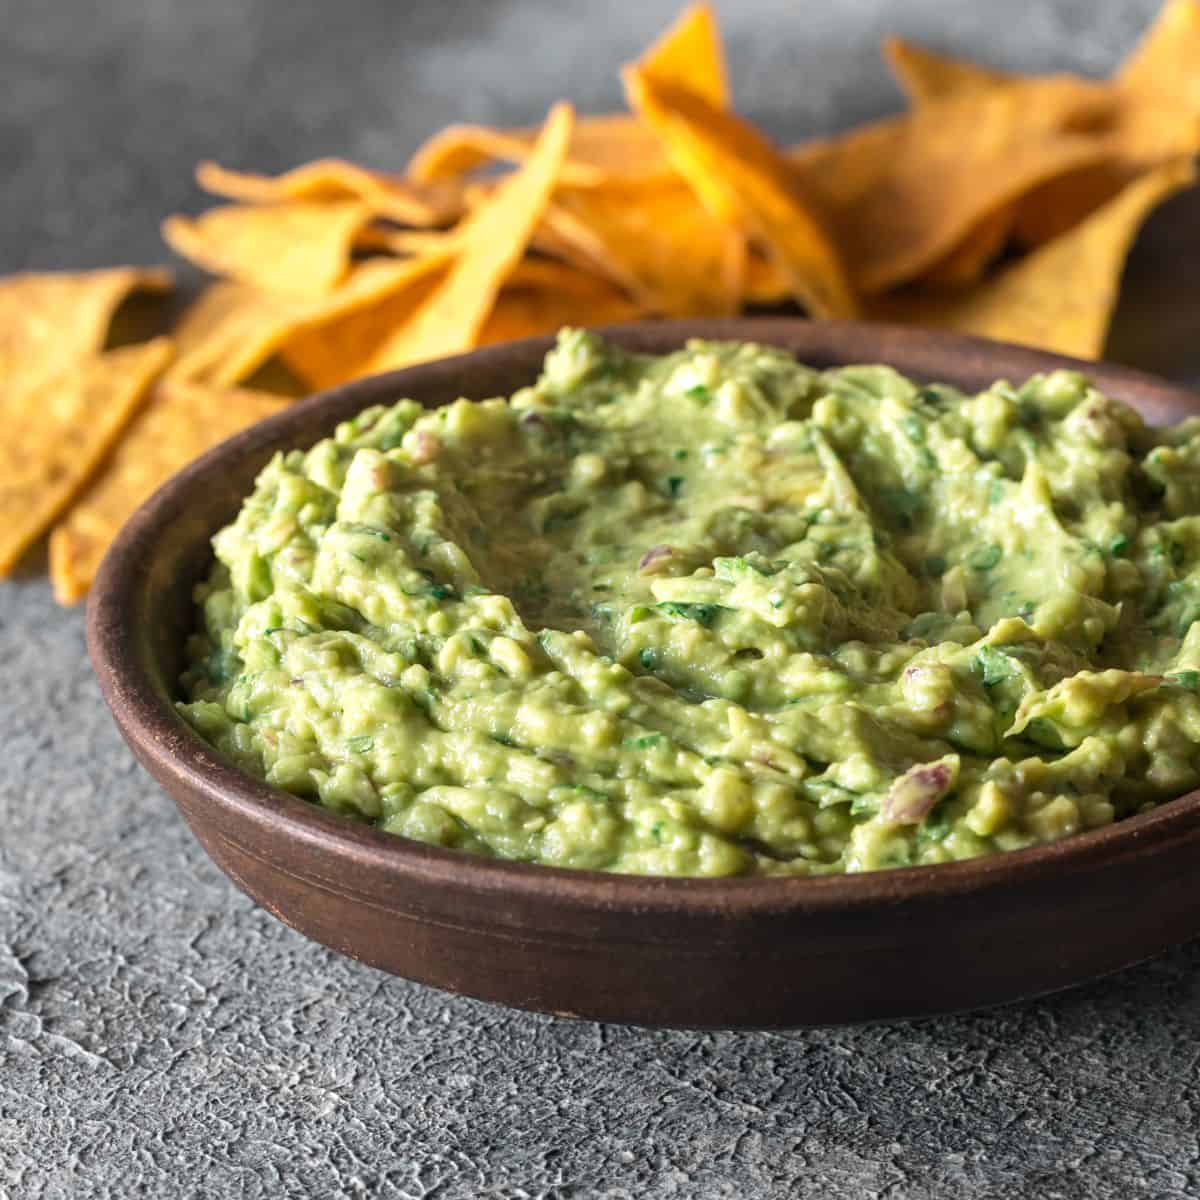
- Fresh guacamole or sliced avocado adds a cool, creamy contrast to the warm green chile sauce.
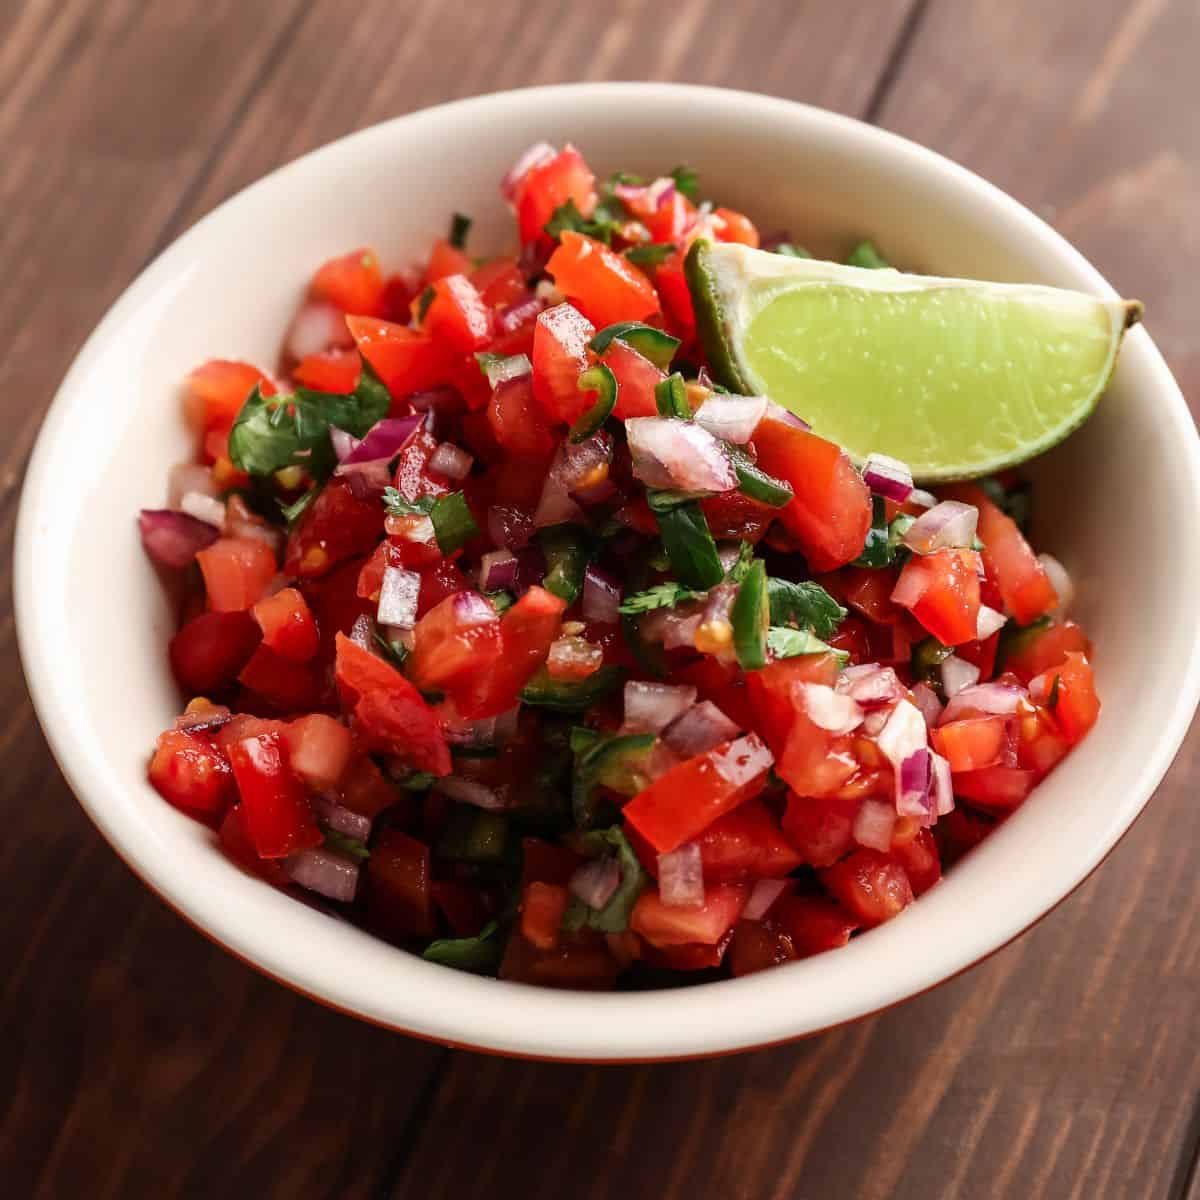
- Tortilla chips and homemade Roasted Salsa Verde are perfect for snacking while the casserole bakes.
- A crisp green salad with a simple lime vinaigrette helps balance the richness of the cheese and sour cream.
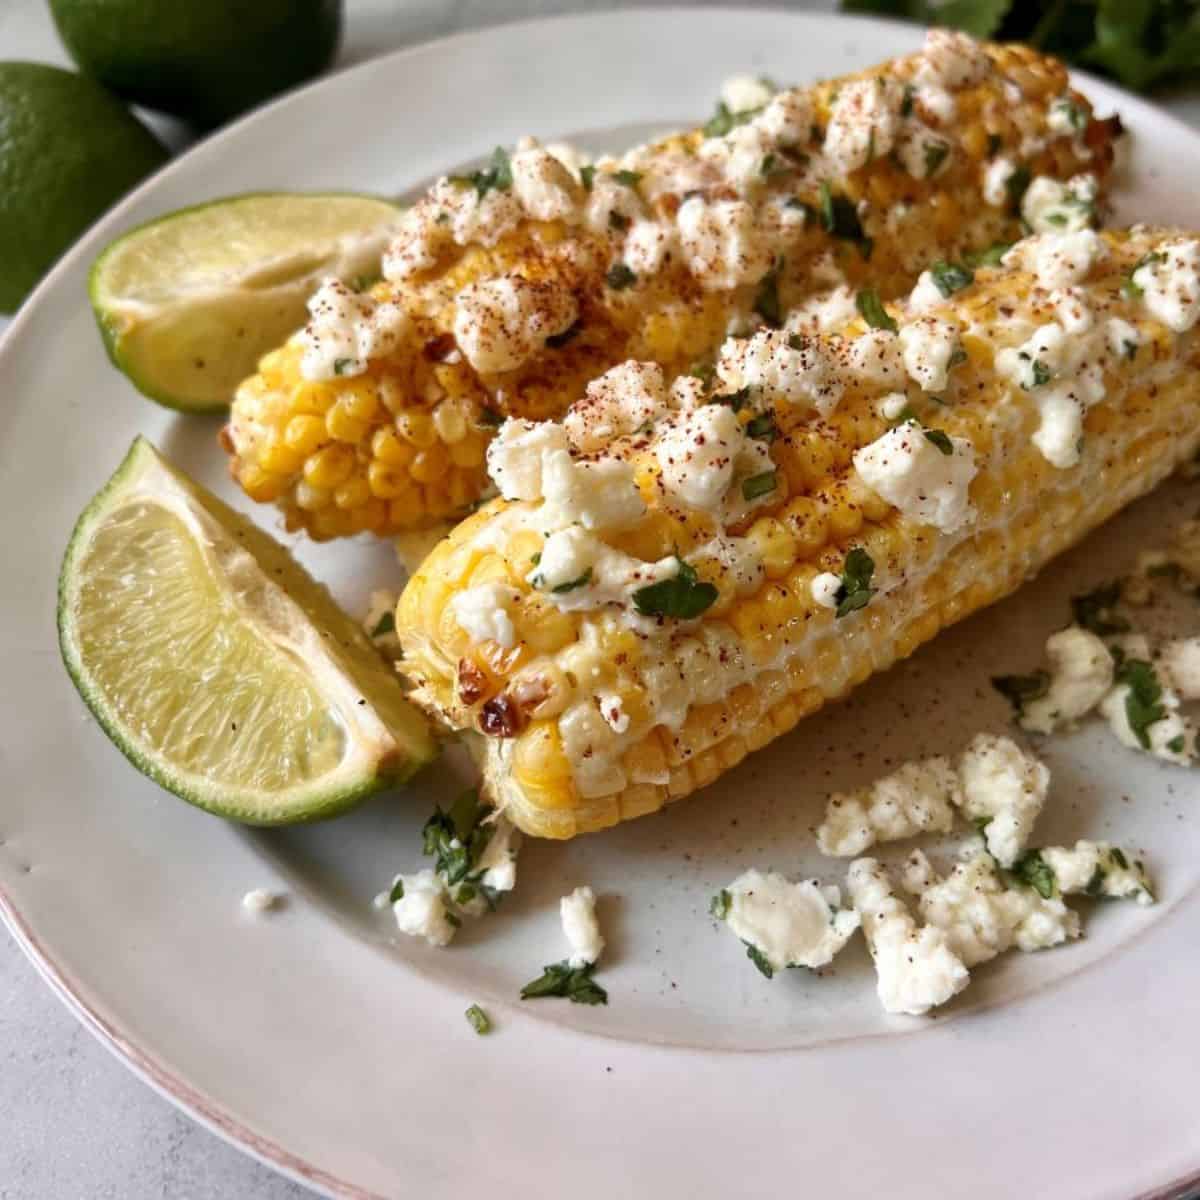
- Mexican street corn (Elote) or grilled corn on the cob is another delicious side, especially during the summer months.
For toppings, set out bowls of chopped cilantro, diced tomatoes, sliced jalapeños, sliced green onions, sour cream, and avocado so everyone can customize their own serving.

Storage & Reheating
One of the best things about this casserole is that the leftovers are just as good the next day.
Storage
Let the casserole cool completely before covering it tightly or transferring leftovers to an airtight container. Store in the refrigerator for up to 4 days.
Freezing
You can freeze the baked or unbaked casserole for up to 3 months. Wrap it tightly with plastic wrap and aluminum foil to help prevent freezer burn. Thaw overnight in the refrigerator before reheating or baking.
Reheating
For the best texture, reheat individual servings in the microwave until heated through. To reheat a larger portion, cover the baking dish with foil and warm it in a 350°F oven until hot.
Meal Prep
This casserole is a great make-ahead meal. Assemble it a day in advance, cover, and refrigerate until you're ready to bake. It's also a great way to use leftover pulled pork or rotisserie chicken later in the week.
Final Thoughts
If you're looking for an easy dinner that's packed with creamy Hatch green chile flavor, this casserole is one you'll want to keep in regular rotation. Whether you make it with leftover pulled pork or shredded chicken, it's a simple way to turn a handful of everyday ingredients into a meal the whole family will enjoy.
If you give this Green Chile Chicken Enchilada Casserole a try, I'd love to hear what you think! Leave a comment below and let me know whether you used chicken or pulled pork. And if you enjoyed the recipe, I'd really appreciate it if you came back and left a ⭐⭐⭐⭐⭐ rating-it helps other readers find it, too.
This post may contain affiliate links. Read my full disclosure policy.
Learn how to get Amazon deliveries straight to your RV.
Cooking for two these days?
That's exactly why I created the first Two at the Table 12-Week Bundle. Inside you'll find 12 weeks of menus for two, each with a grocery list and five connected dinners built around overlapping ingredients, so you make one grocery run and actually use what you buy. No more forgotten herbs, half-used packages, or random ingredients hiding in the back of the refrigerator.
Get the 12-Week Bundle →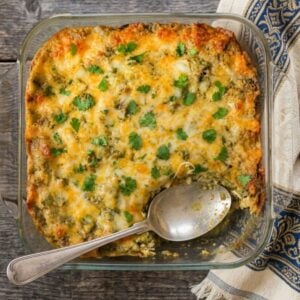
Green Chile Pulled Pork Enchilada Casserole
Ingredients
Sauce
- 1 tablespoon olive oil
- ½ cup diced red onion
- 3 cloves garlic minced
- 2 cups Roasted Salsa Verde Recipe in the post
- ½ cup chopped roasted Hatch green chiles or one 4-ounce can diced Hatch green chiles
- 1 cup sour cream
- ½ teaspoon kosher salt or to taste
- ¼ teaspoon black pepper or to taste
Casserole
- 12 corn tortillas
- 3 cups shredded cooked chicken
- 3 cups shredded Colby Jack cheese divided
- Chopped fresh cilantro for garnish (optional)
Instructions
- Preheat the oven to 350°F. Lightly grease a 9x9-inch baking dish.
- Heat the olive oil in a large skillet over medium heat. Add the diced onion and cook until softened and translucent, about 4 to 5 minutes. Stir in the garlic and cook for 30 seconds, just until fragrant.
- Reduce the heat to low and stir in the roasted salsa verde, sour cream, and Hatch green chiles. Stir until the sauce is smooth and creamy, then let it simmer gently for 2 to 3 minutes, stirring occasionally. Taste and season with salt and pepper, if needed.
- Spread a thin layer of the sauce over the bottom of the prepared baking dish.
- Arrange one-third of the corn tortillas over the sauce, tearing them into large pieces as needed to completely cover the bottom of the dish.
- Top with one-third of the shredded chicken, one-third of the sauce, and one-third of the shredded Colby Jack cheese.
- Repeat the layers two more times, ending with the remaining cheese on top.
- Cover the baking dish tightly with aluminum foil and bake for 30 minutes.
- Remove the foil and continue baking for 10 to 15 minutes, or until the cheese is melted, bubbly, and lightly golden around the edges.
- Let the casserole rest for 10 minutes before serving. Garnish with chopped fresh cilantro, if desired.
Notes
Nutrition Facts
Approximate per serving - based on 6 servings| Calories | 490 |
| Protein | 33g |
| Carbohydrates | 24g |
| Fat | 29g |
| Fiber | 4g |
| Sodium | 760mg |

If you are into connecting with people through food and are inspired by new places and experiences, subscribe to my newsletter, Detour Ahead!
Simple recipes, small adventures, and stories from the road.

Leave a Reply